Welcome to Hungry Happenings where you'll find recipes to make creatively decorated desserts and festively fun food for holidays and special occasions.
Upcoming holidays and events


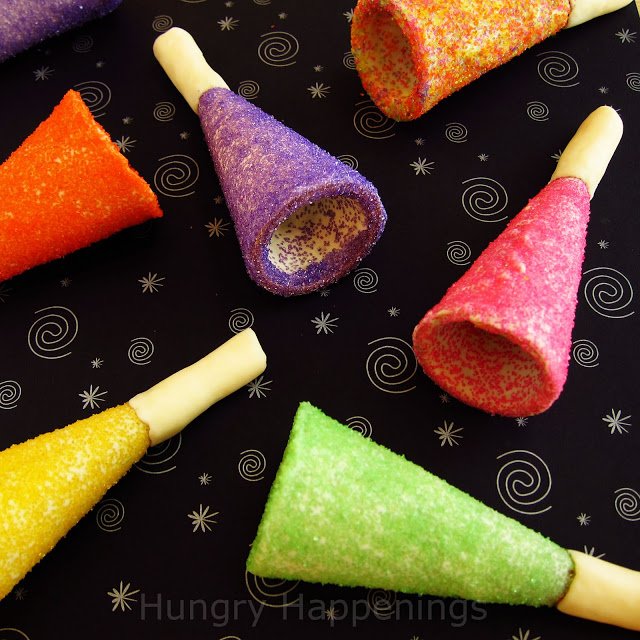
popular dessert recipes

Trending Recipes

Get ready to celebrate these upcoming events!
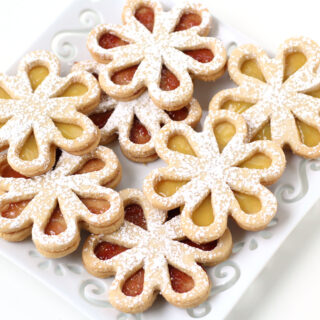
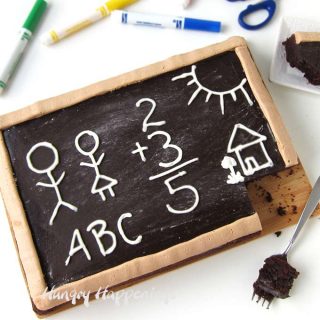
Graduation Recipes
Whether you are hosting a graduation party and need delicious party food ideas or are looking for fun gifts for a graduate, I've got the perfect recipe for you.

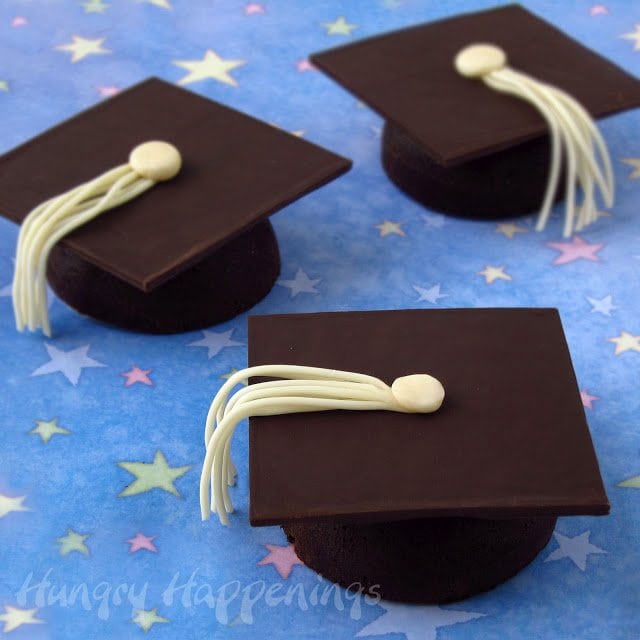
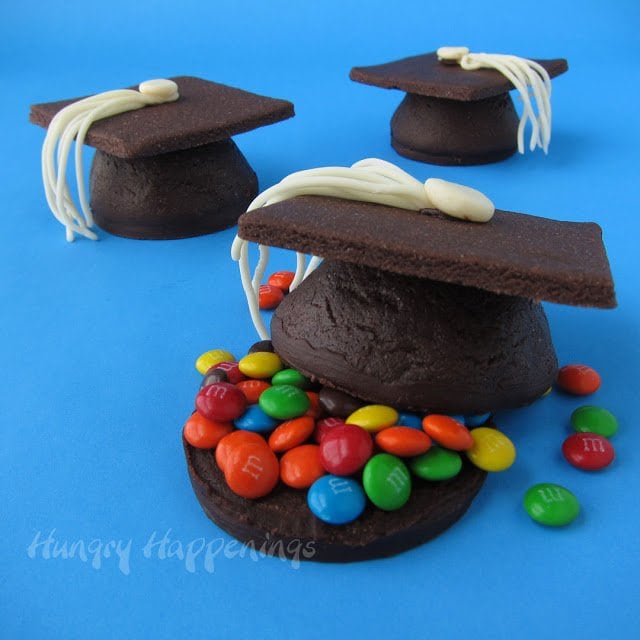

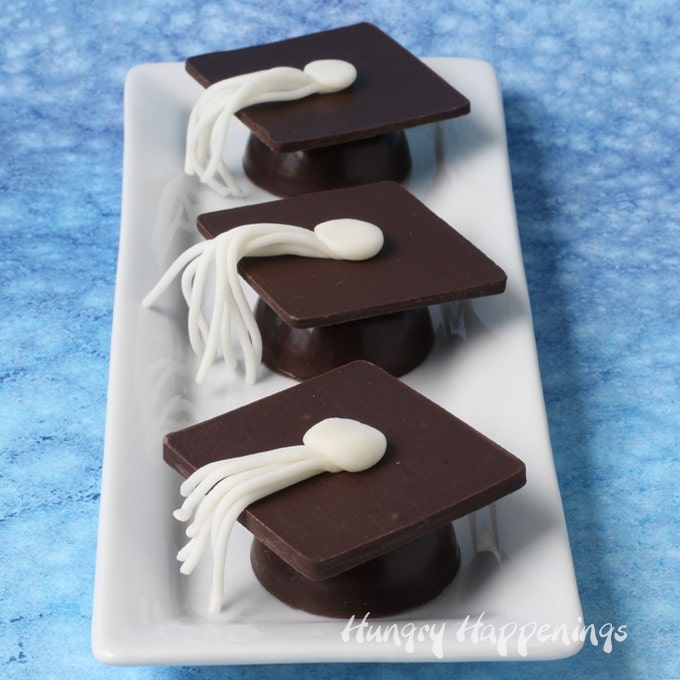
see more Graduation Party Recipes →
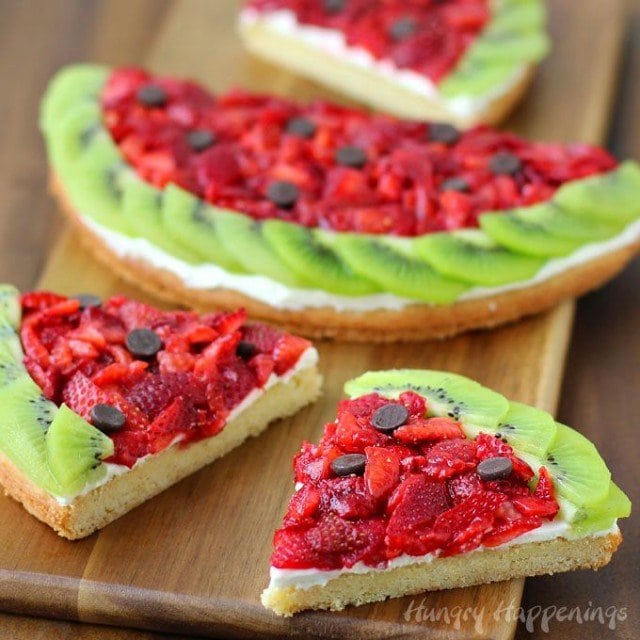
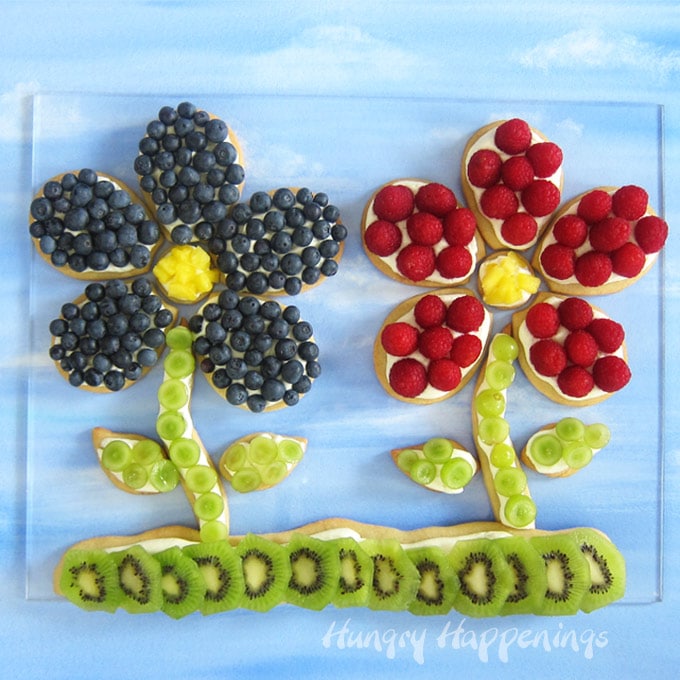
Earth Day Recipes
Celebrate our amazing planet by sharing a fun dessert with family and friends.
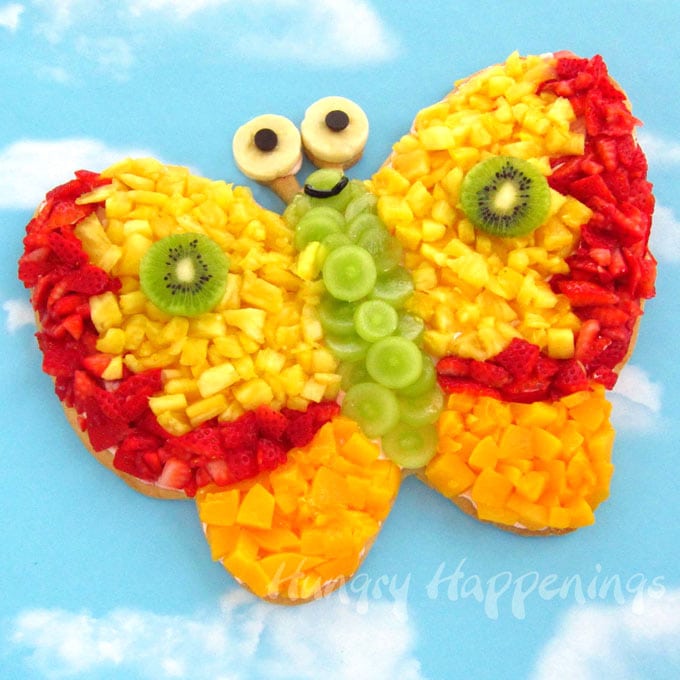
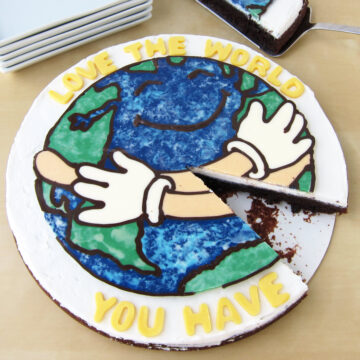

see more Earth Day recipes →

About Beth
Hi, I'm Beth. I've been a professional chocolatier & baker for over 30 years, have written 5 cookbooks, and love creating fun food for holidays and special occasions.
Mother's Day Recipes
Make your mom's day extra special by serving her breakfast in bed, a special brunch, or a delicious dessert.
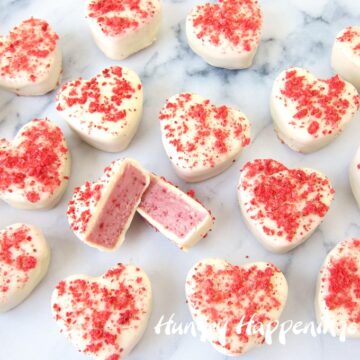
see more Mother's Day recipes →
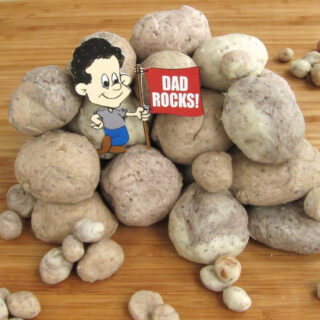
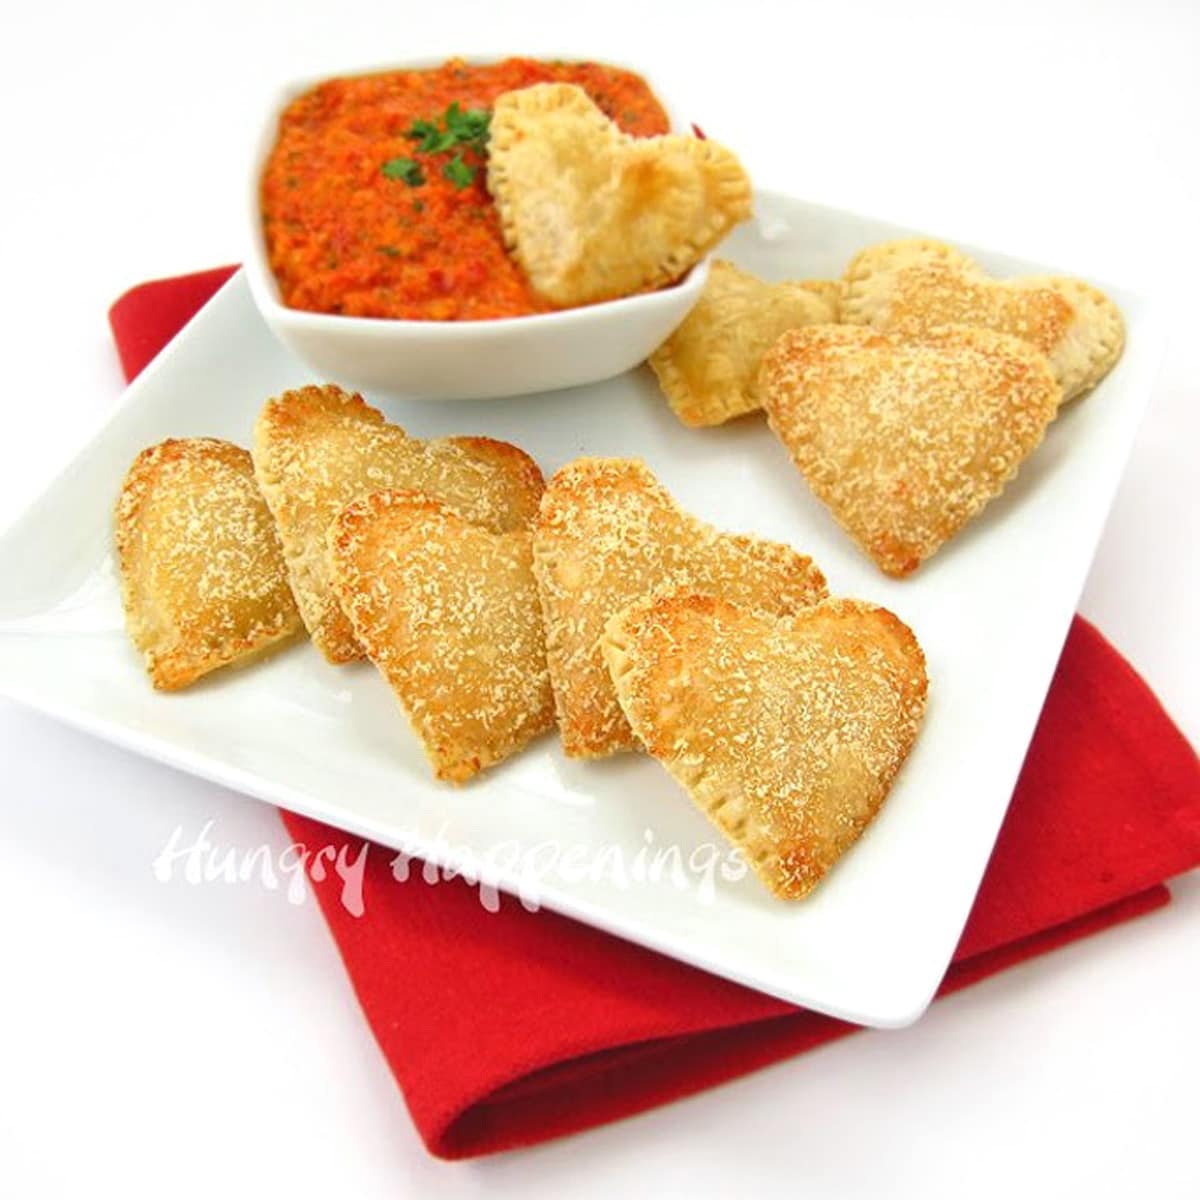
Father's Day Recipes
Make your dad's special day more fun by serving any of these festive snacks, desserts, or meals.
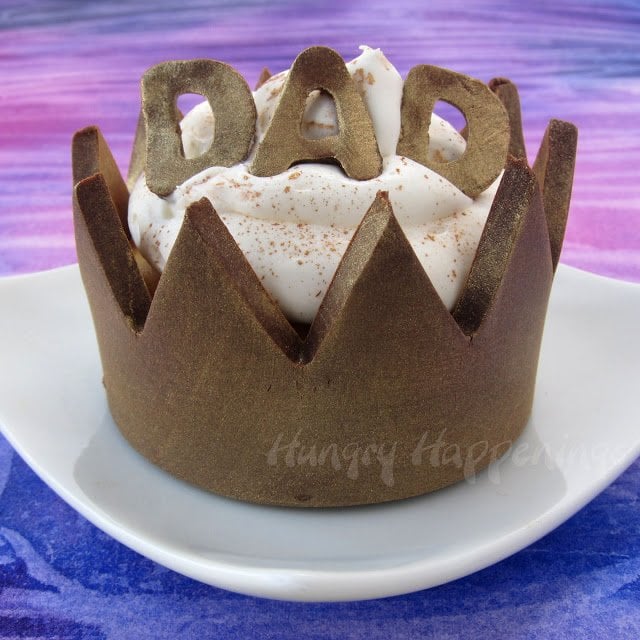
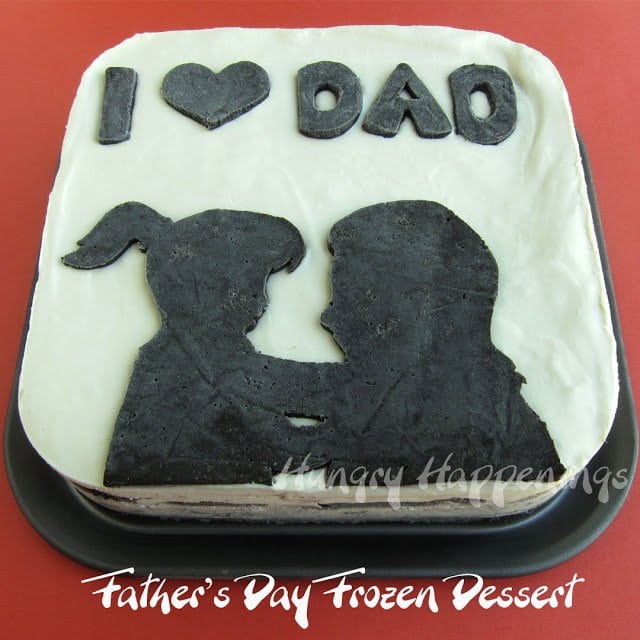
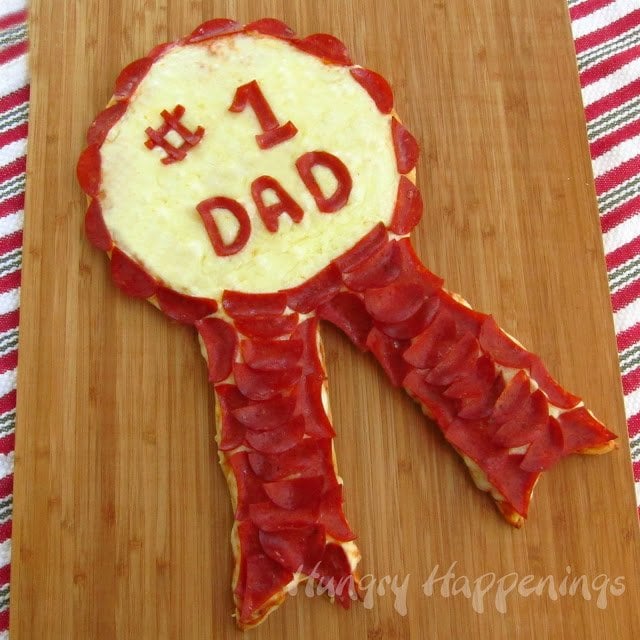
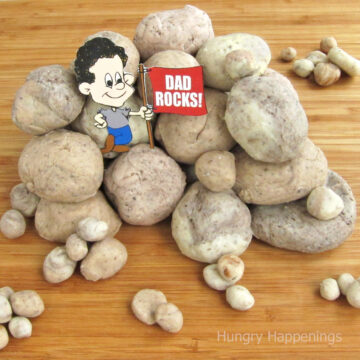
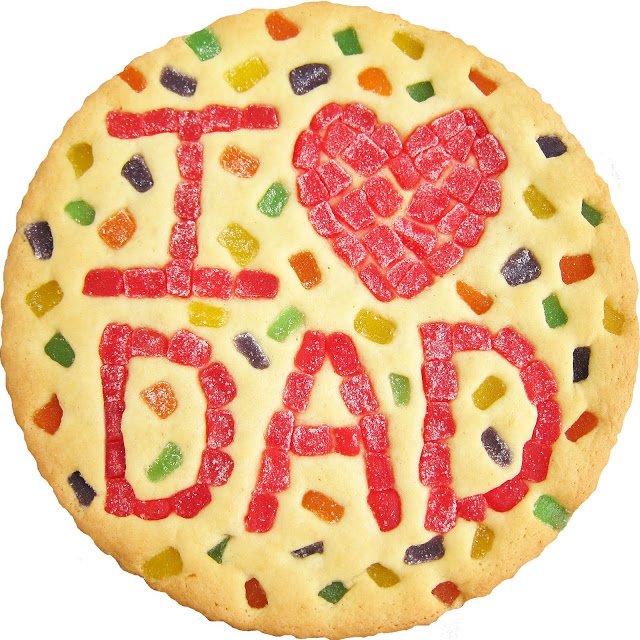
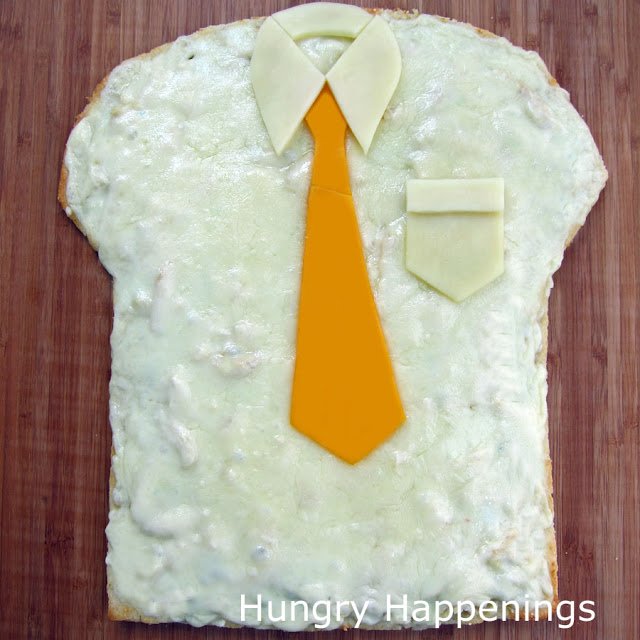
see more Father's Day Recipes →
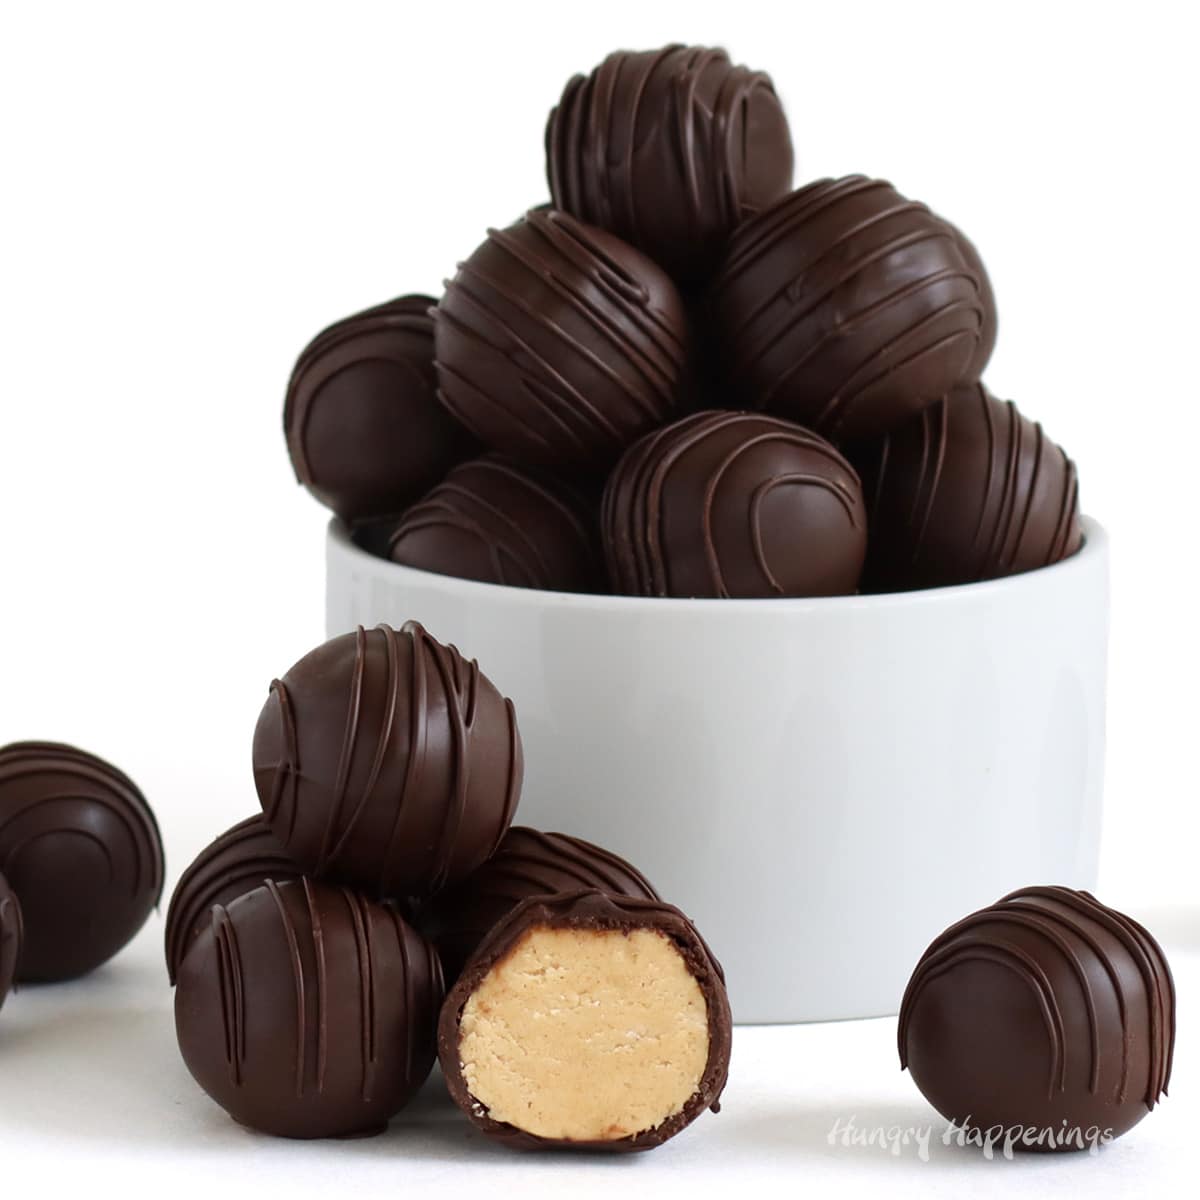
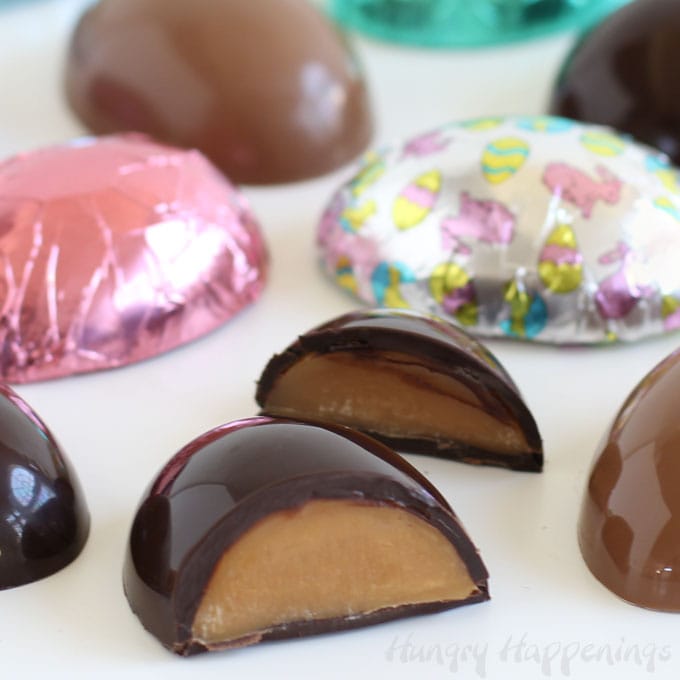
LEARN HOW TO MAKE CHOCOLATE
Making homemade chocolates doesn't have to be difficult. I've been teaching chocolate-making classes for 30+ years and I share tons of tips and tricks in my chocolate-making recipe tutorials.

see more chocolate recipes →
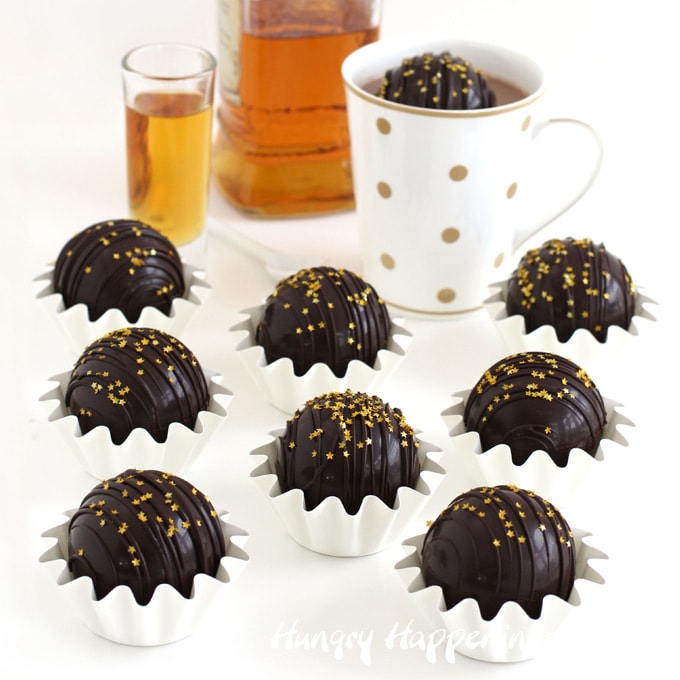
Chocolate-making courses
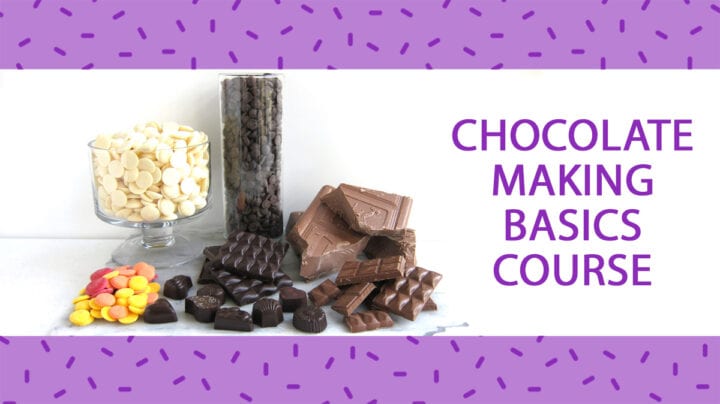
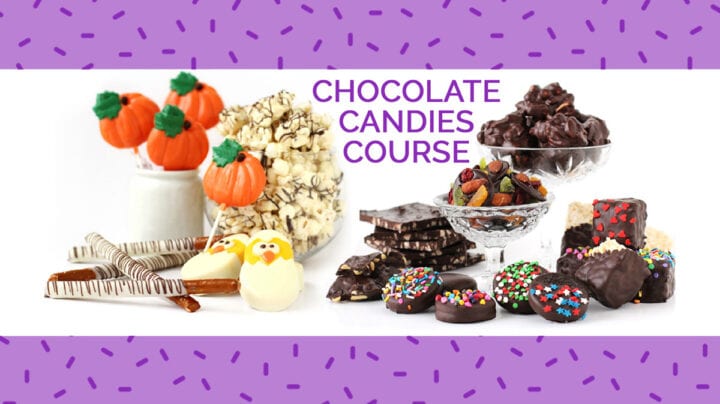

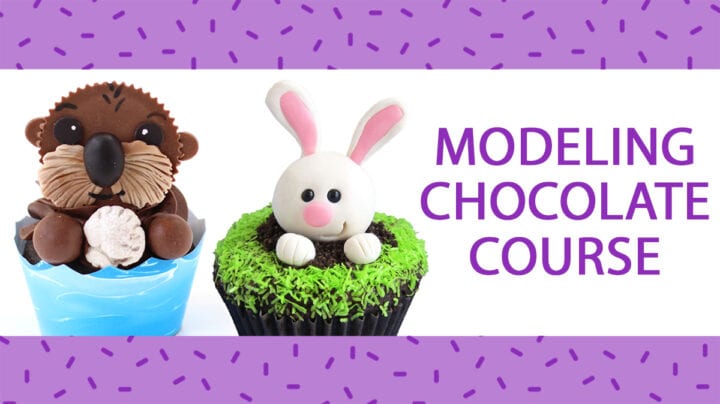
If you have ever dreamed of learning how to make beautiful and delicious chocolates at home, be sure to check out my online chocolate-making courses at The Sugar Academy.
chocolate-making basics • chocolate candies • chocolate truffles • chocolate-making bundle • modeling chocolate
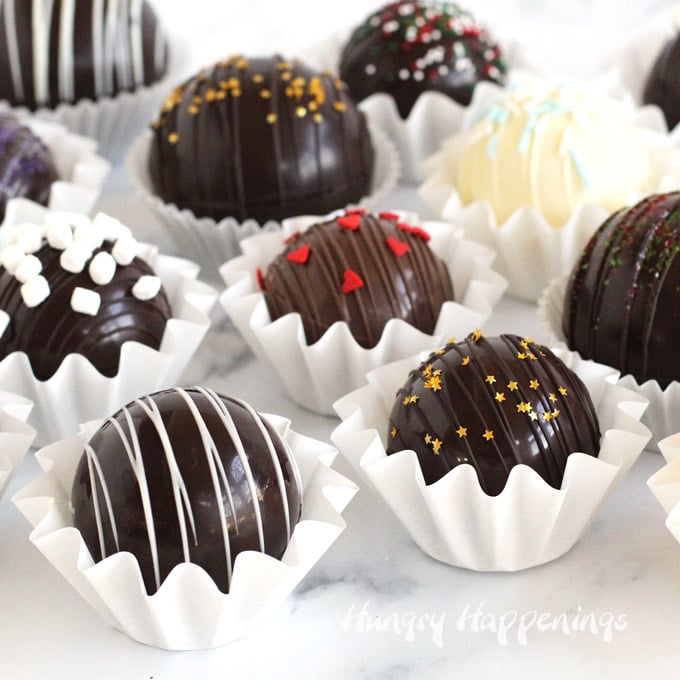
Homemade chocolate
You can also find hundreds of handmade chocolate ideas and recipes here on Hungry Happenings.
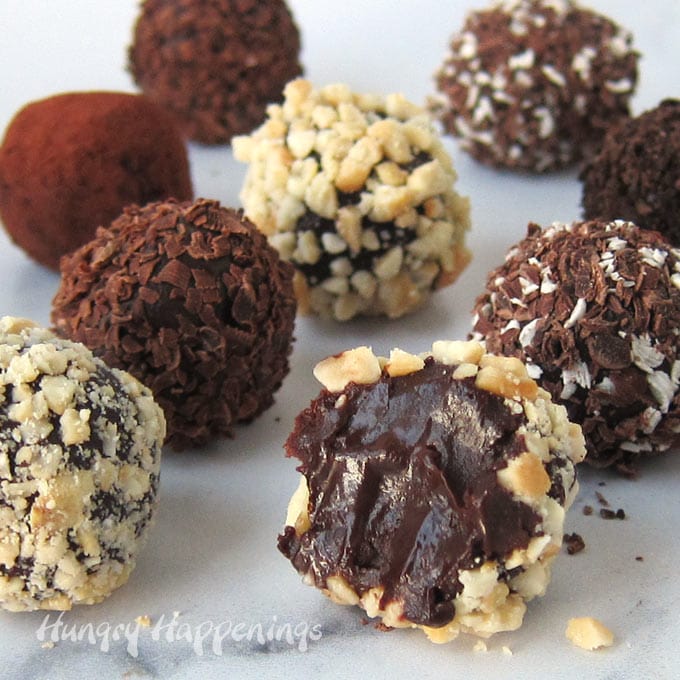
see more homemade chocolate recipes →
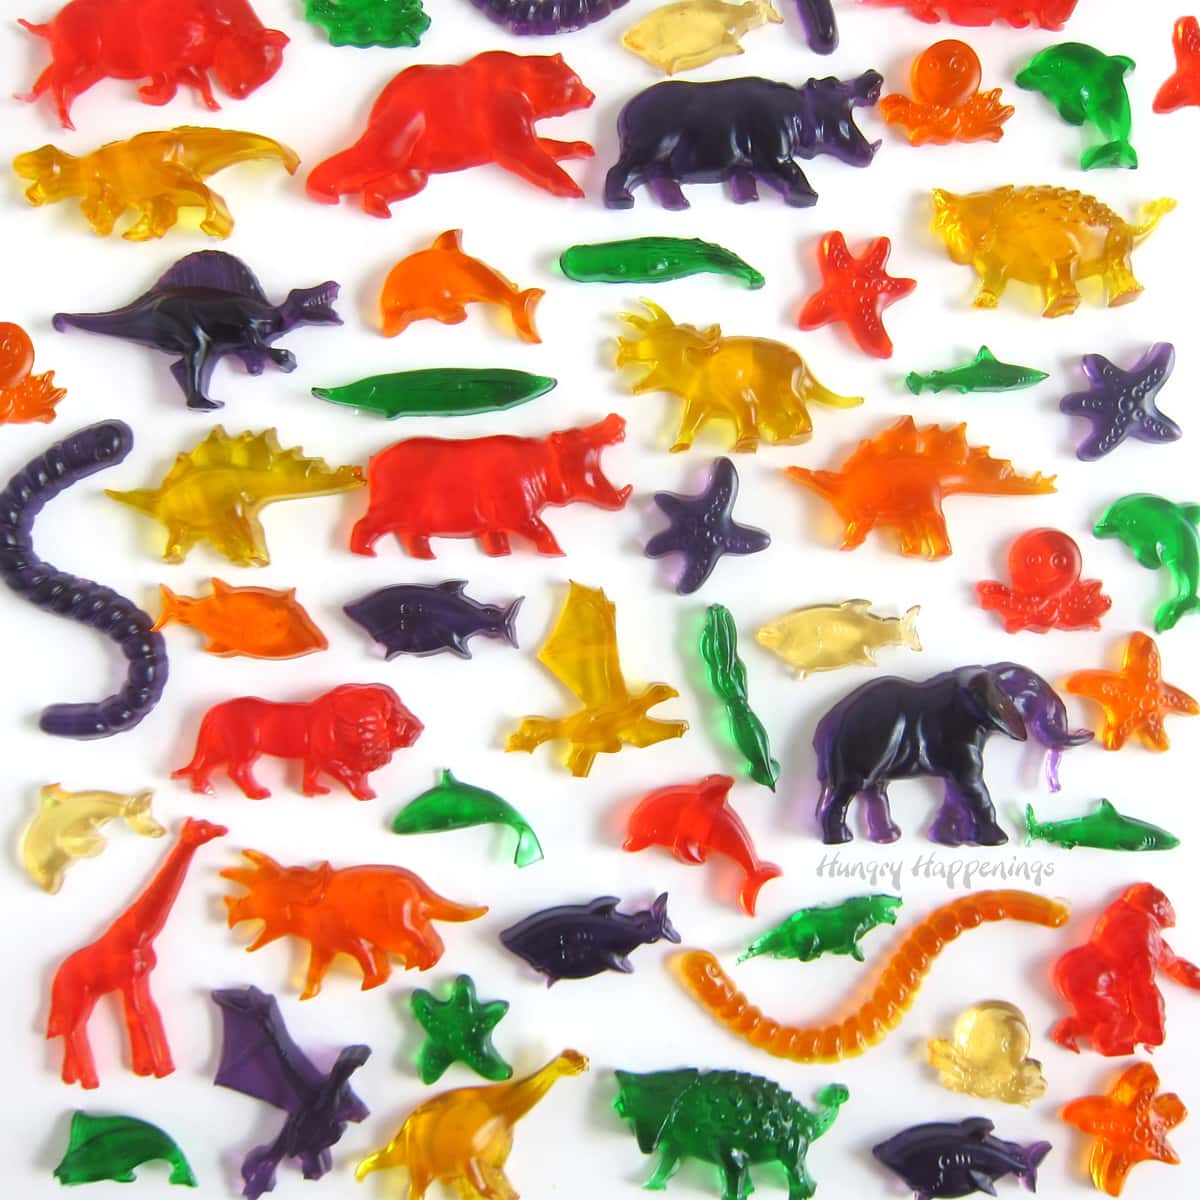
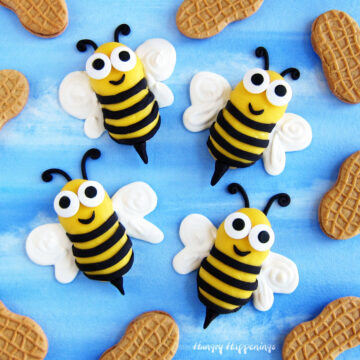
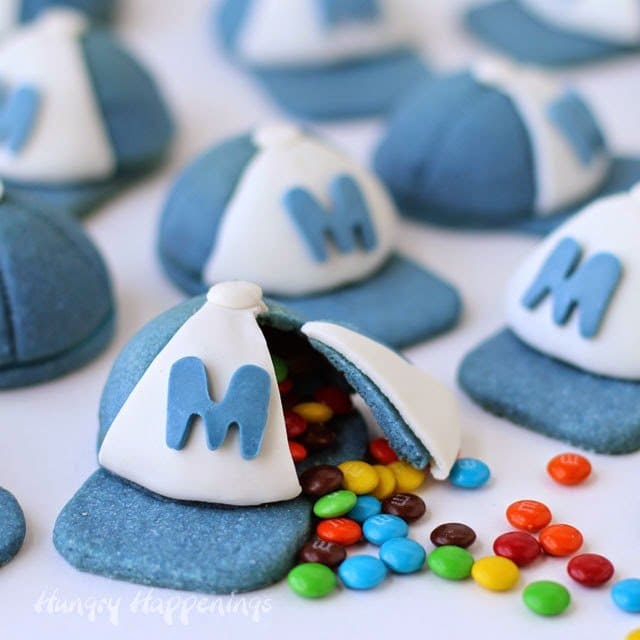
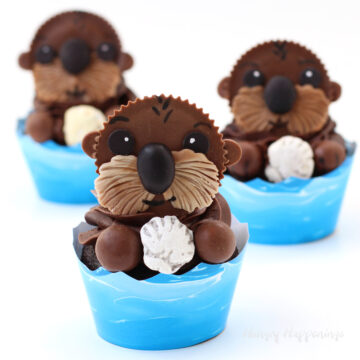
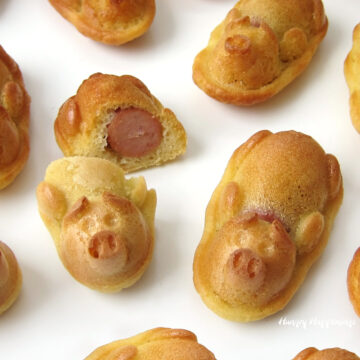
Fun food for kids
Make your kids' day a little brighter by crafting a fun dinner like pig-shaped pigs-in-a-blanket. Or, make a kid's party a little sweeter by serving the most adorable Sea Otter Cupcakes or Bumble Bee Cookies.
see more fun food for kids →
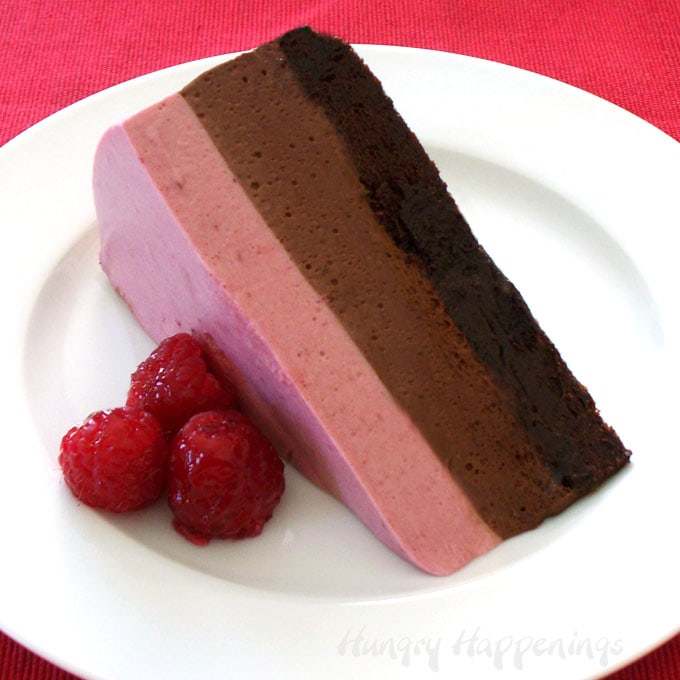
Everyday desserts
It doesn't have to be a holiday or special occasion to make a delicious dessert. Find recipes to make tarts, cakes, cannoli, mousse, pies, and more...
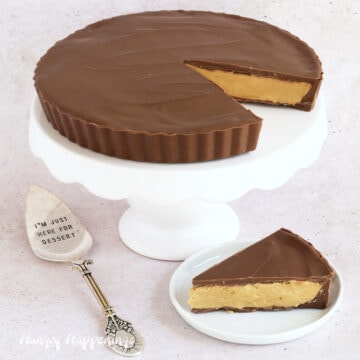
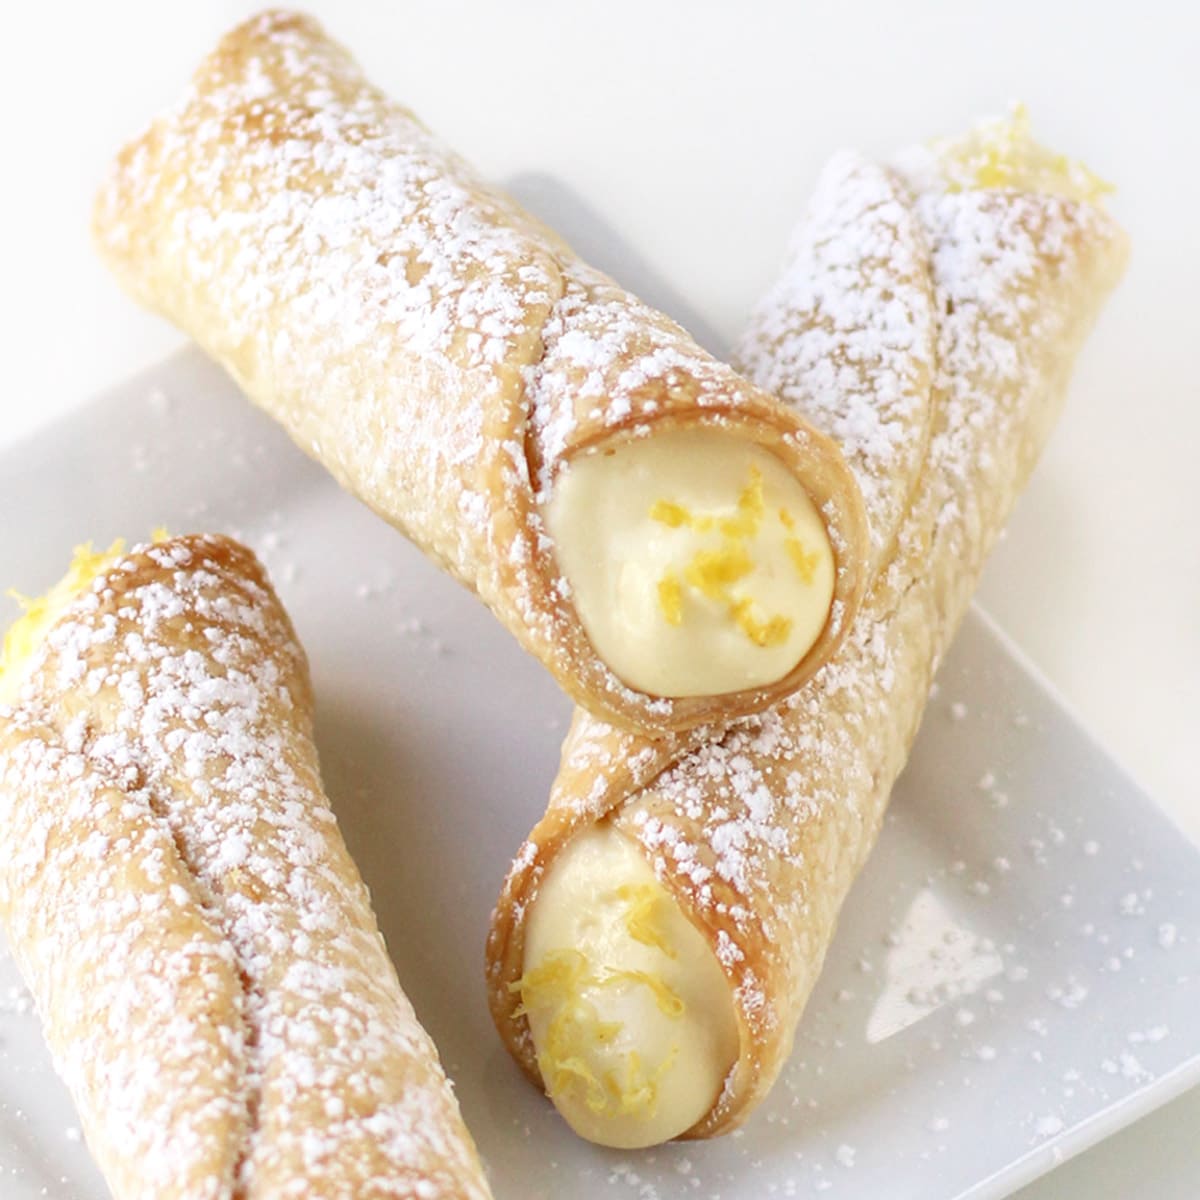
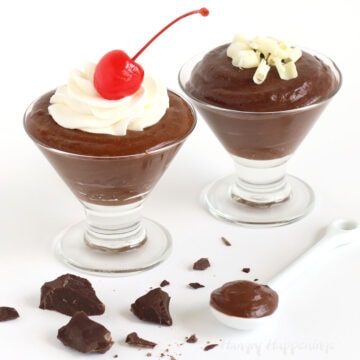
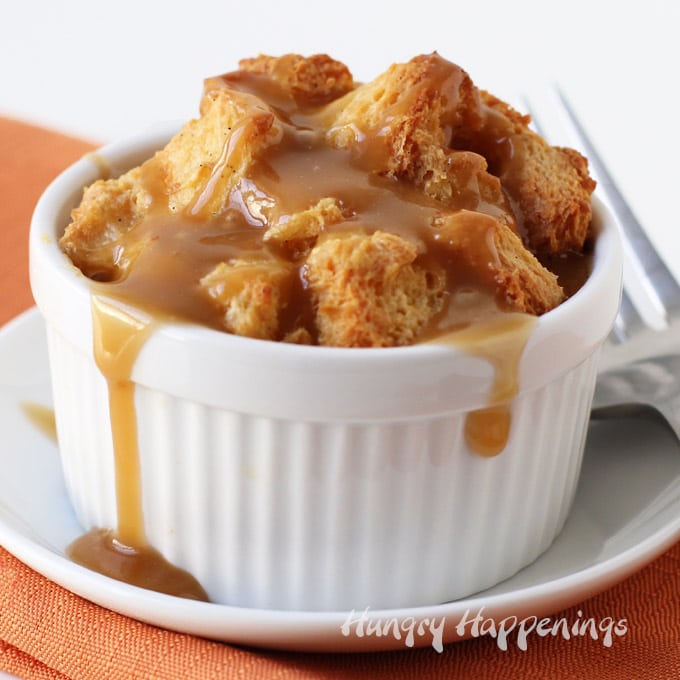
see more everyday dessert recipes →
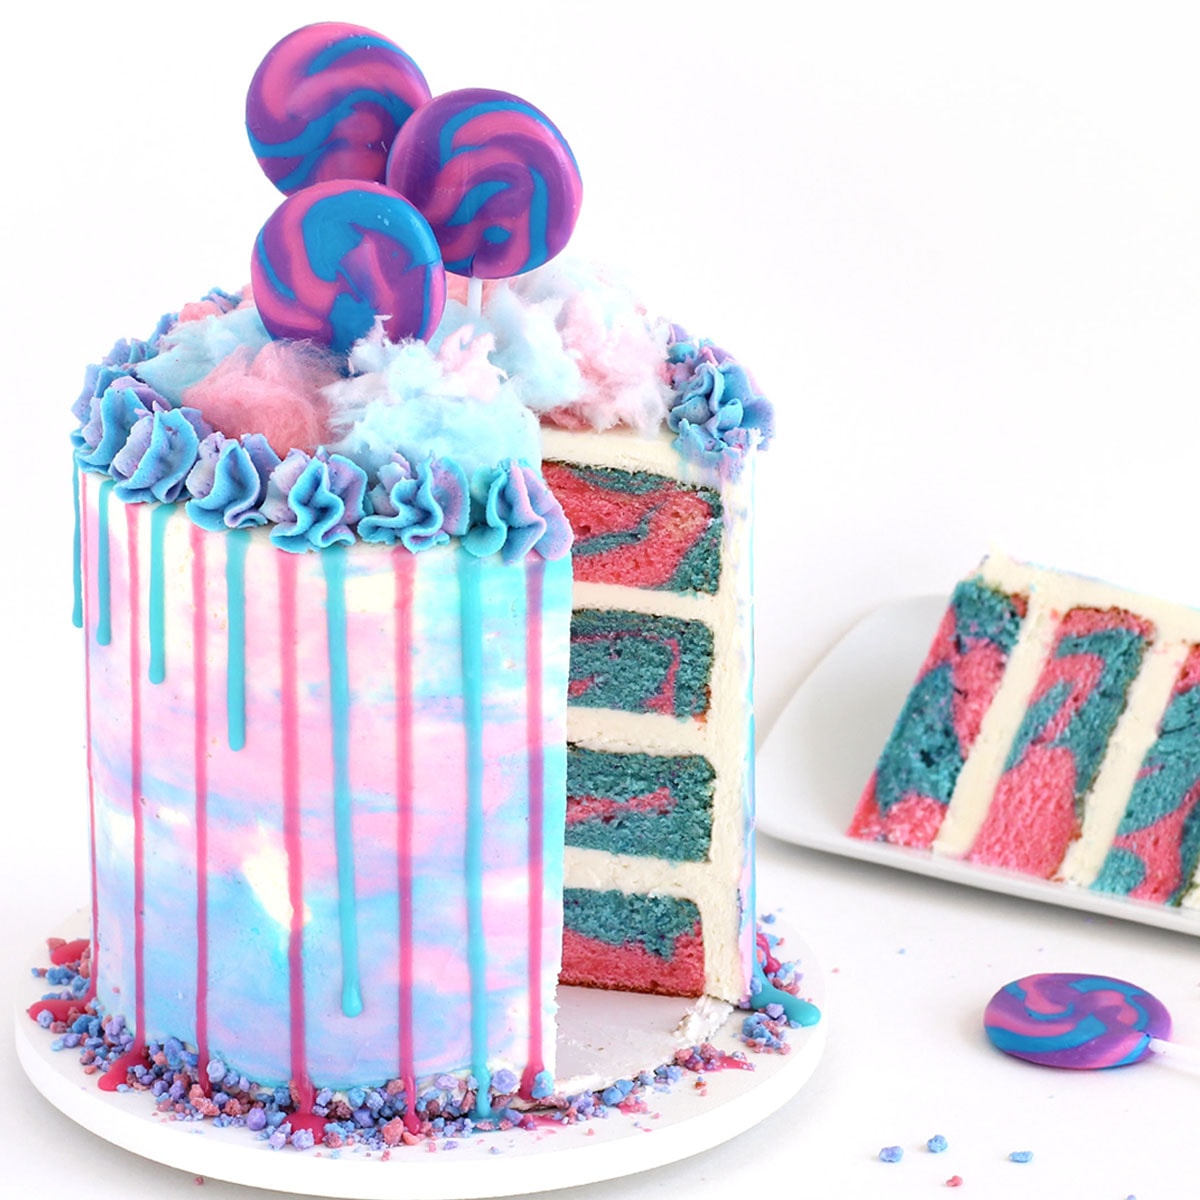
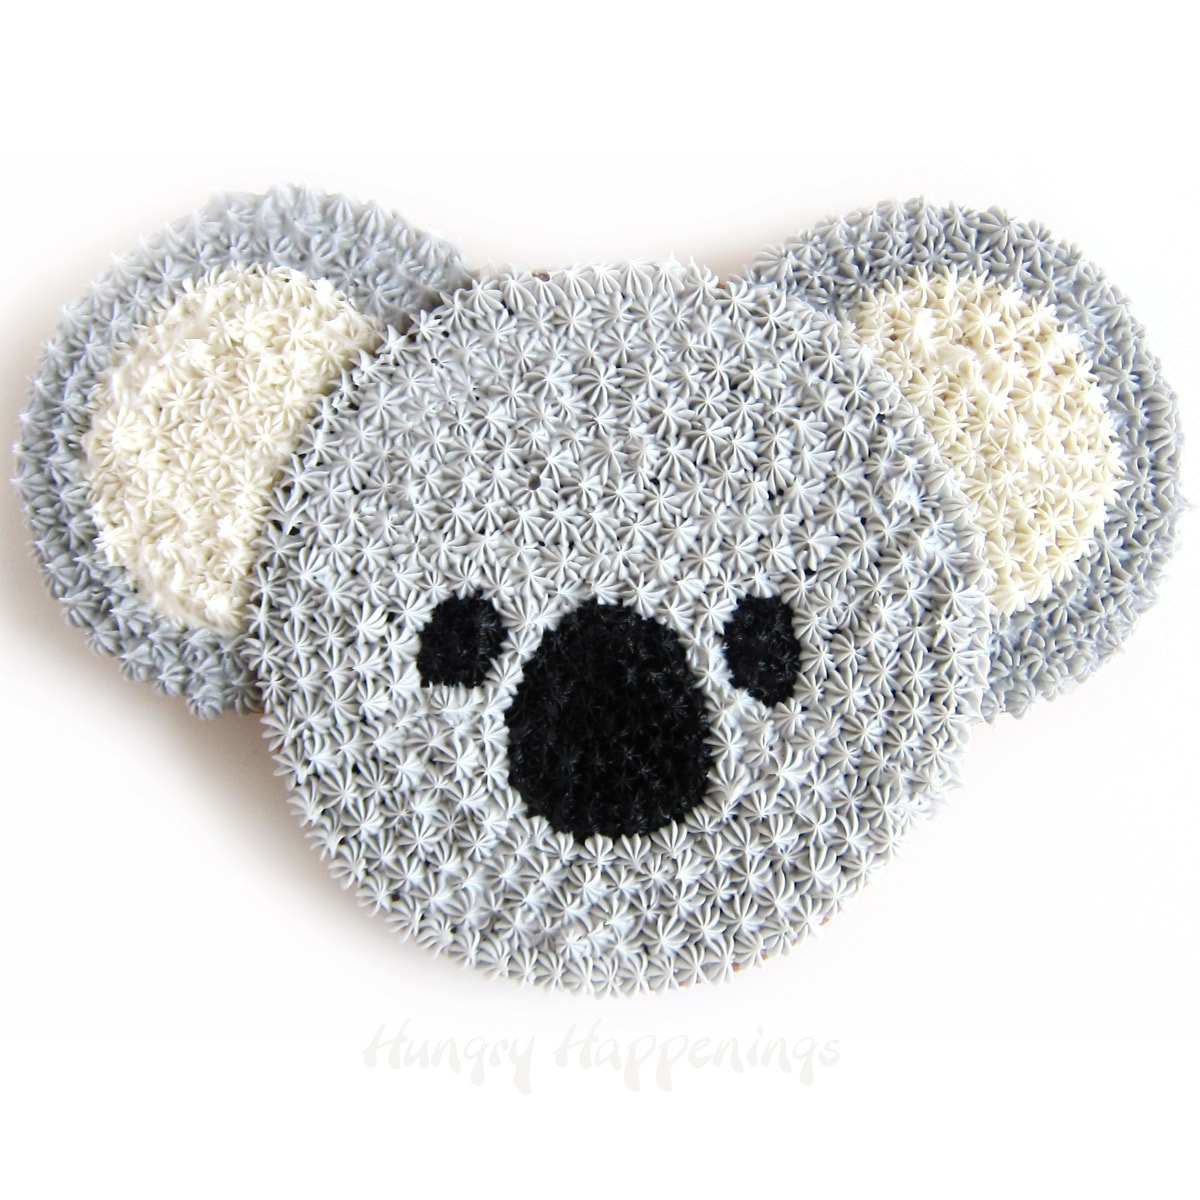
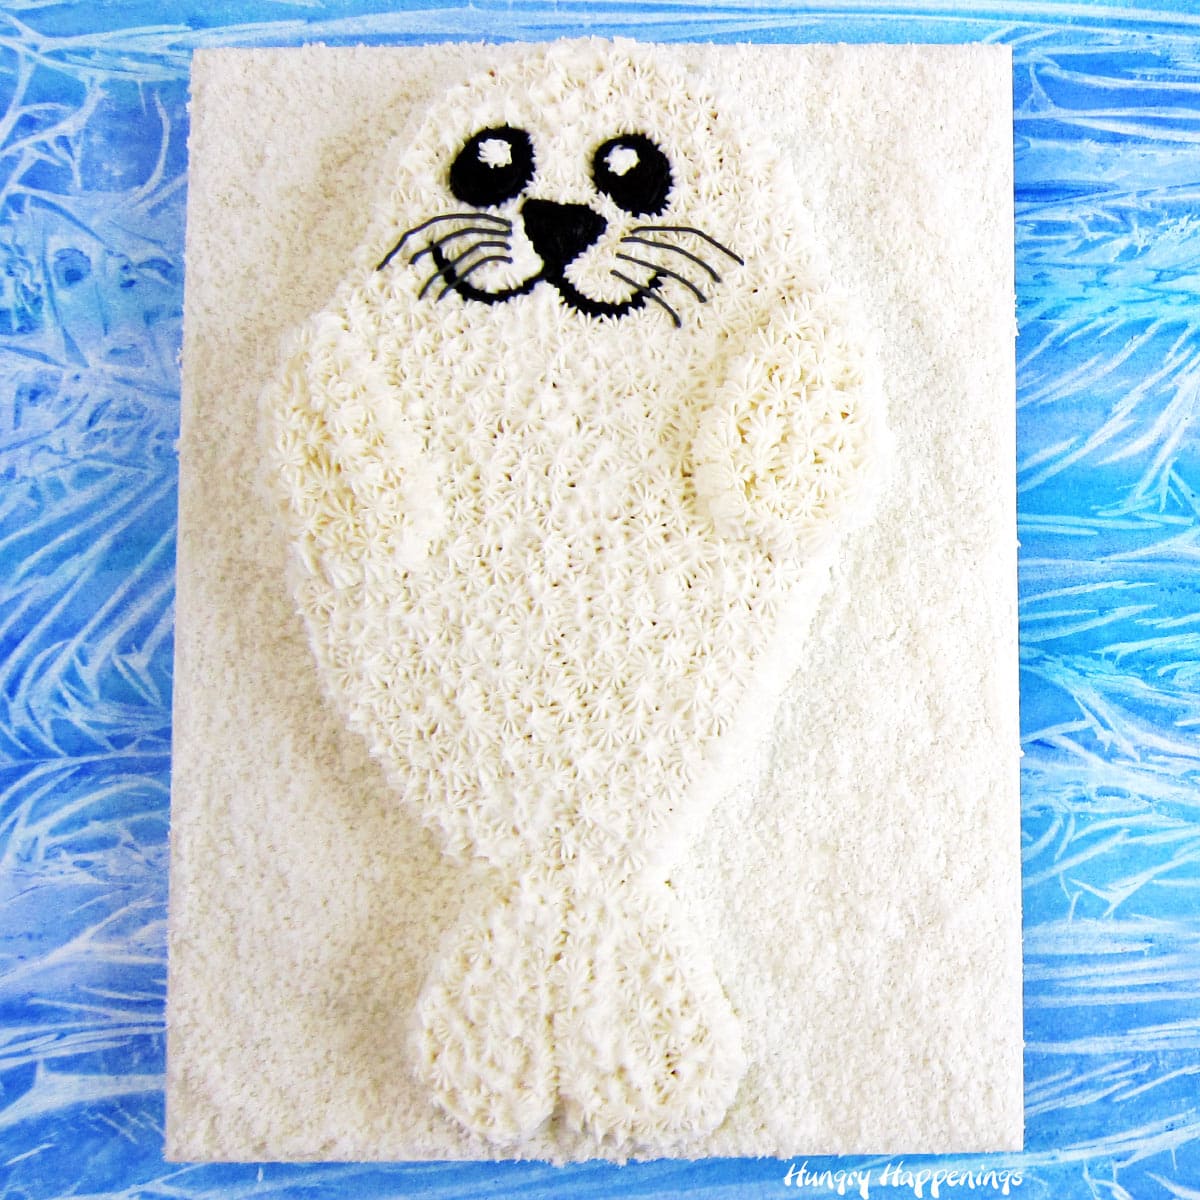
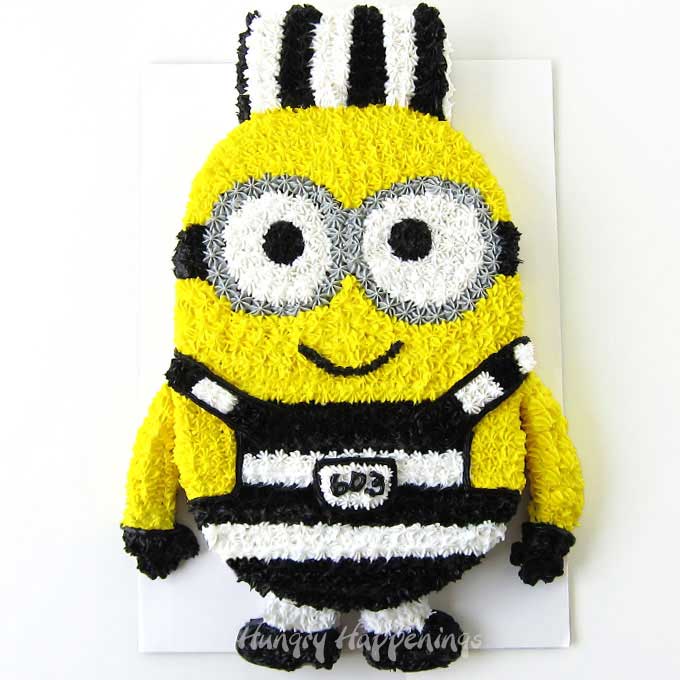
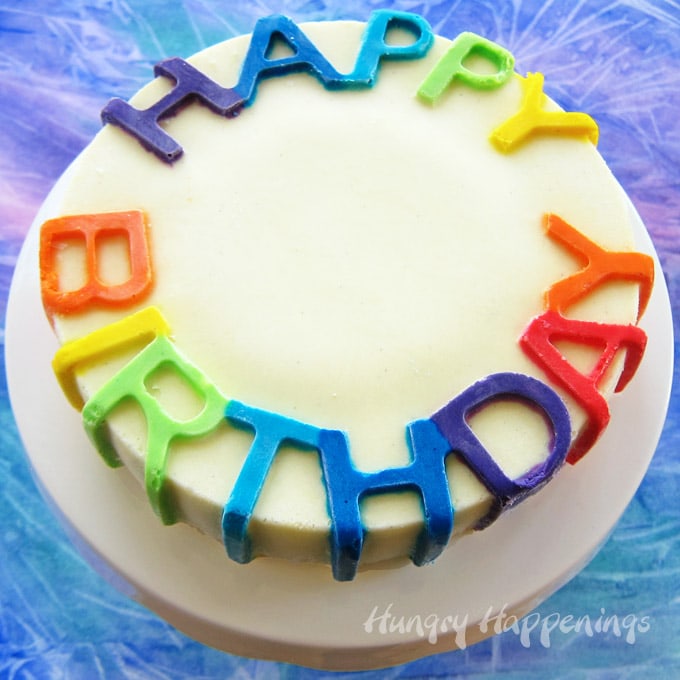
Decorated cakes
Serve a cute or awe-inspiring cake for a birthday party or special event. Here, you'll find some cake recipes that are easy to make and others that are for more advanced cake decorators. All of them will surely make people smile!
see more decorated cakes →
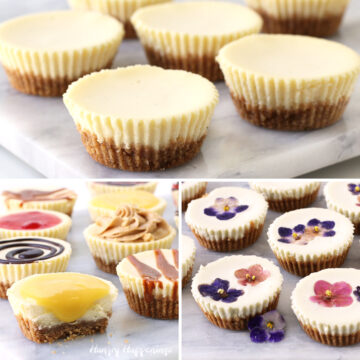
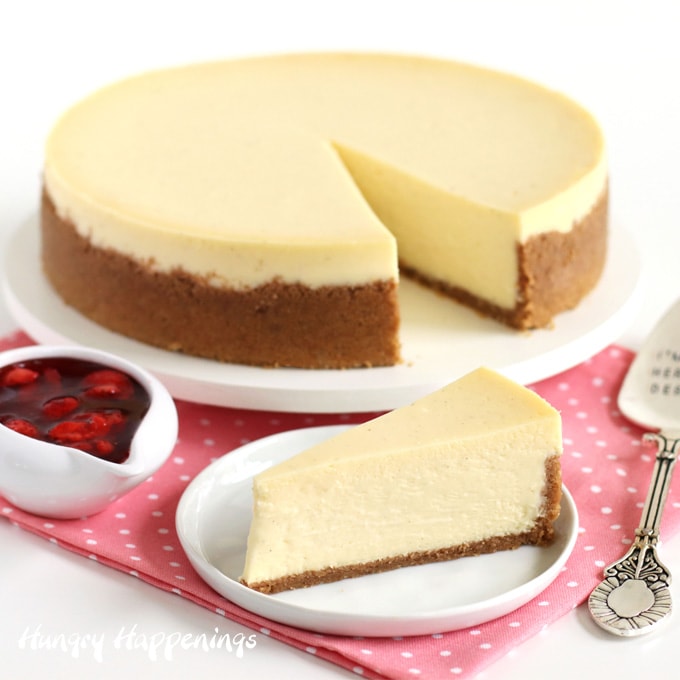
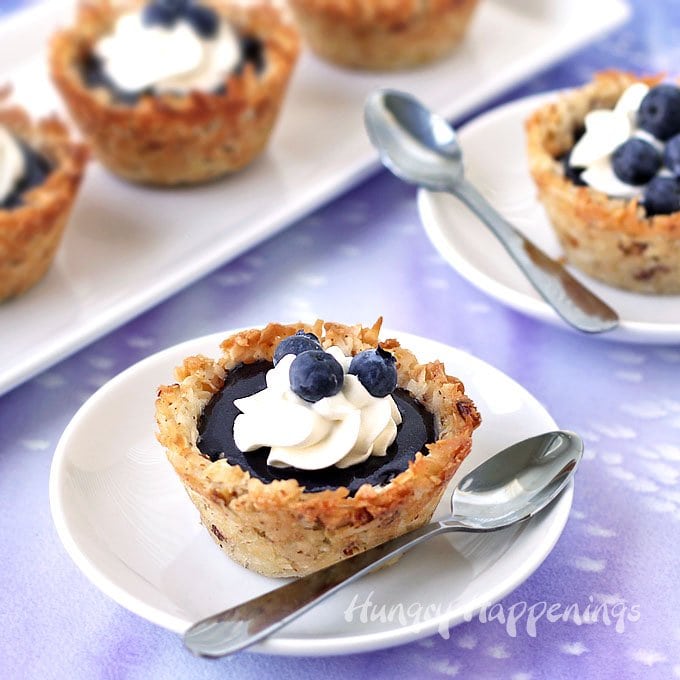
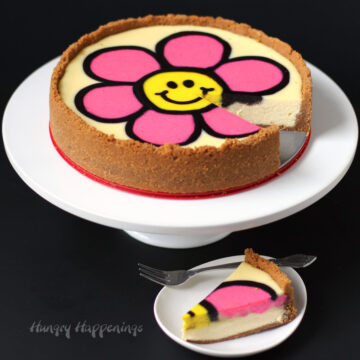
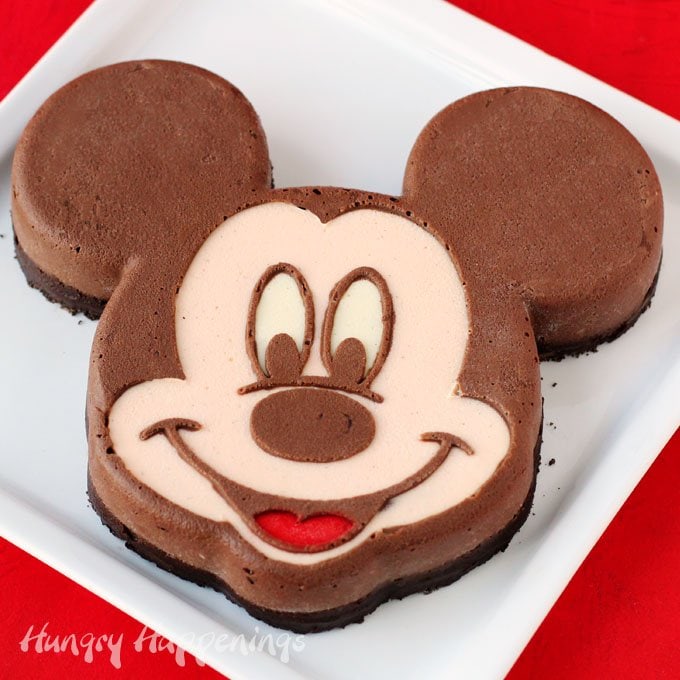
Cheesecakes
Cheesecakes can be sweet or savory, no-bake or baked, mini or large, and served plain or with toppings. They can even be festively decorated.
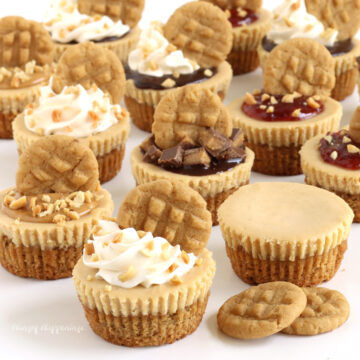
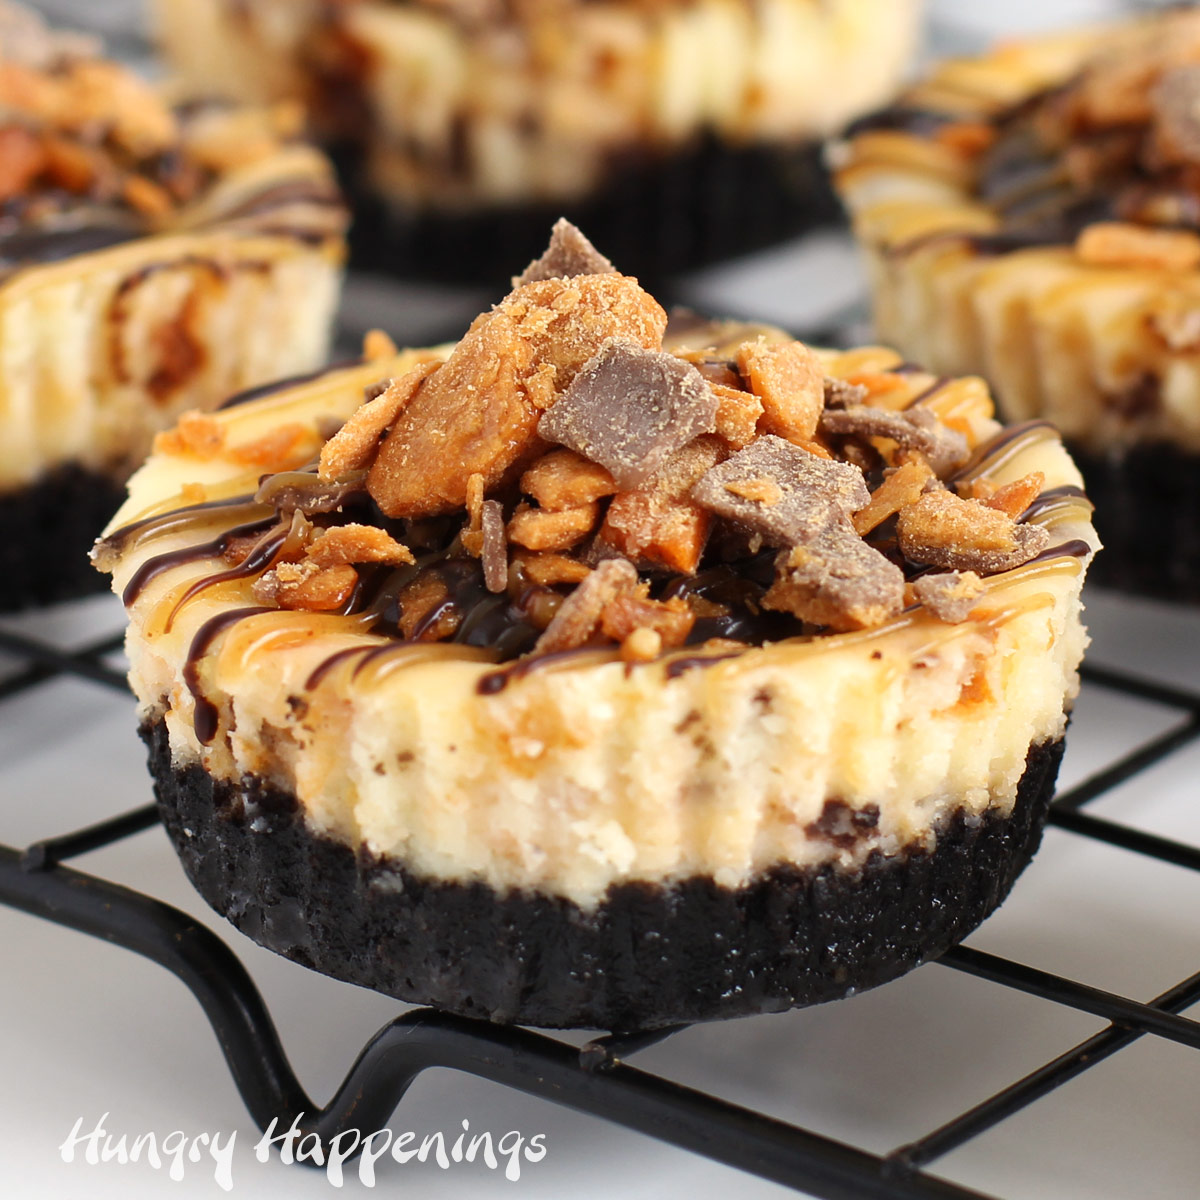
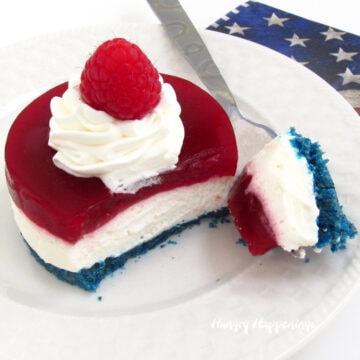
see more cheesecake recipes →
Homemade candy
Making candy at home is so much fun. Plus homemade candy tastes so much better than pre-packaged store-bought candy. I know you'll love these candy recipes.
see more homemade candy recipes →
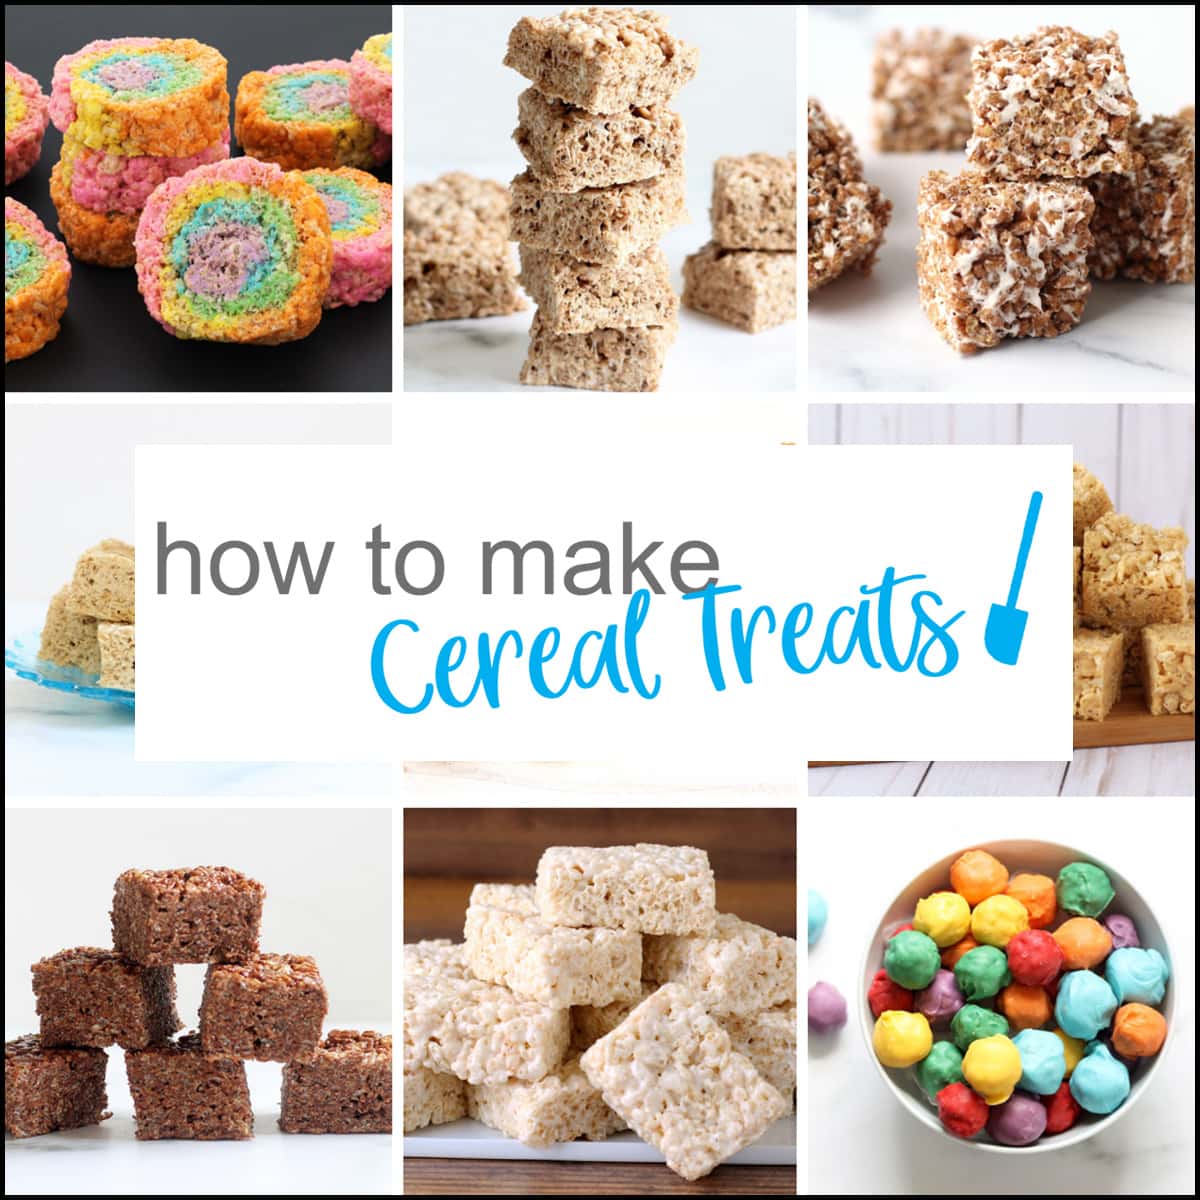
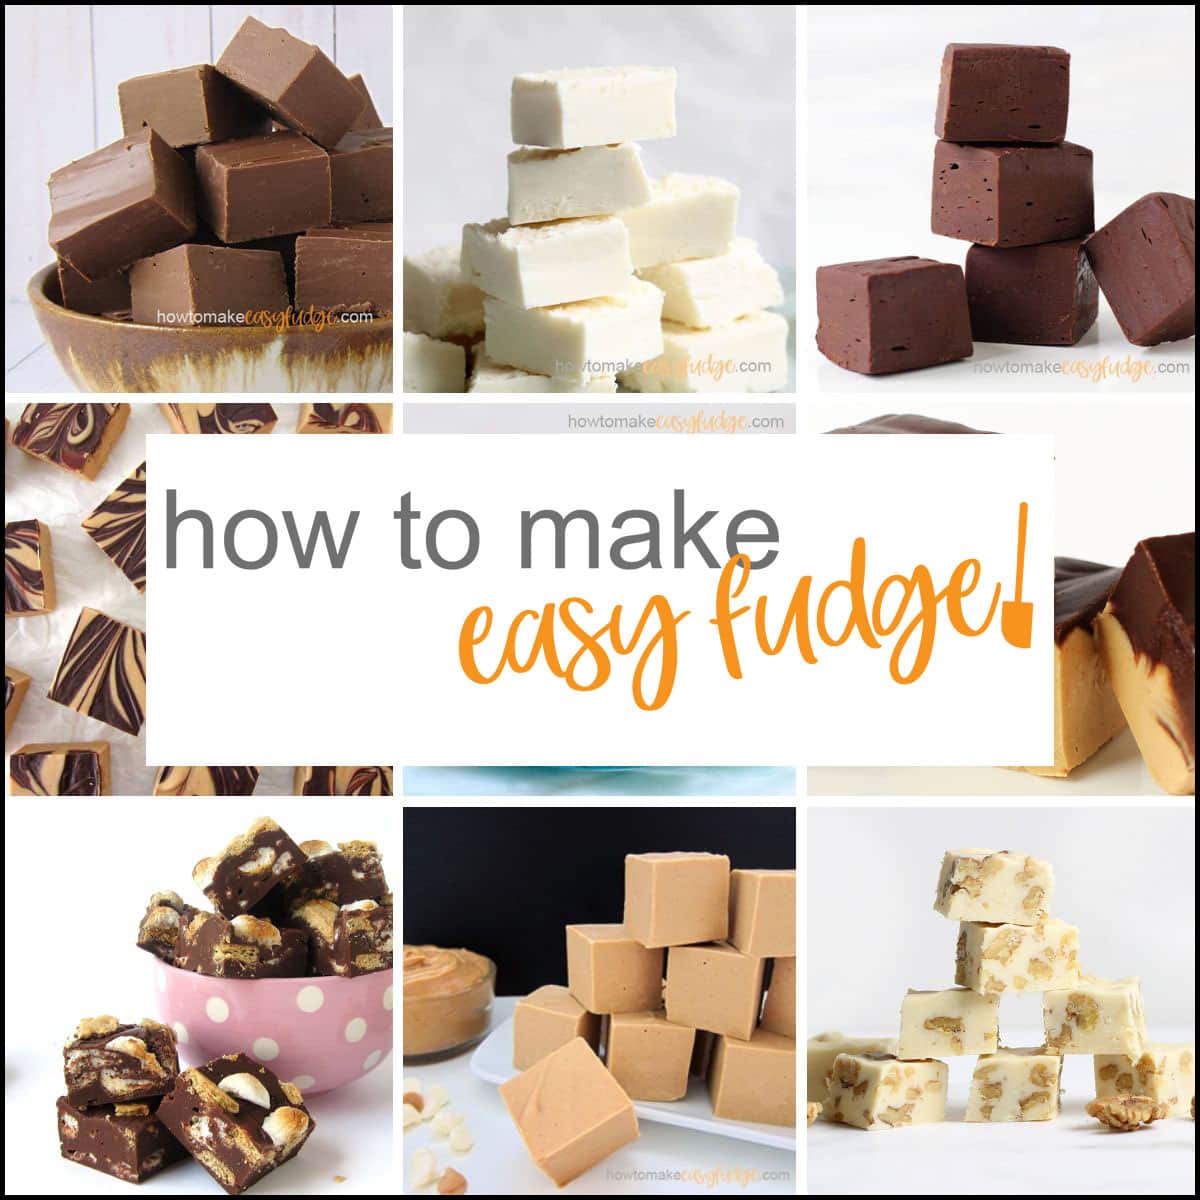
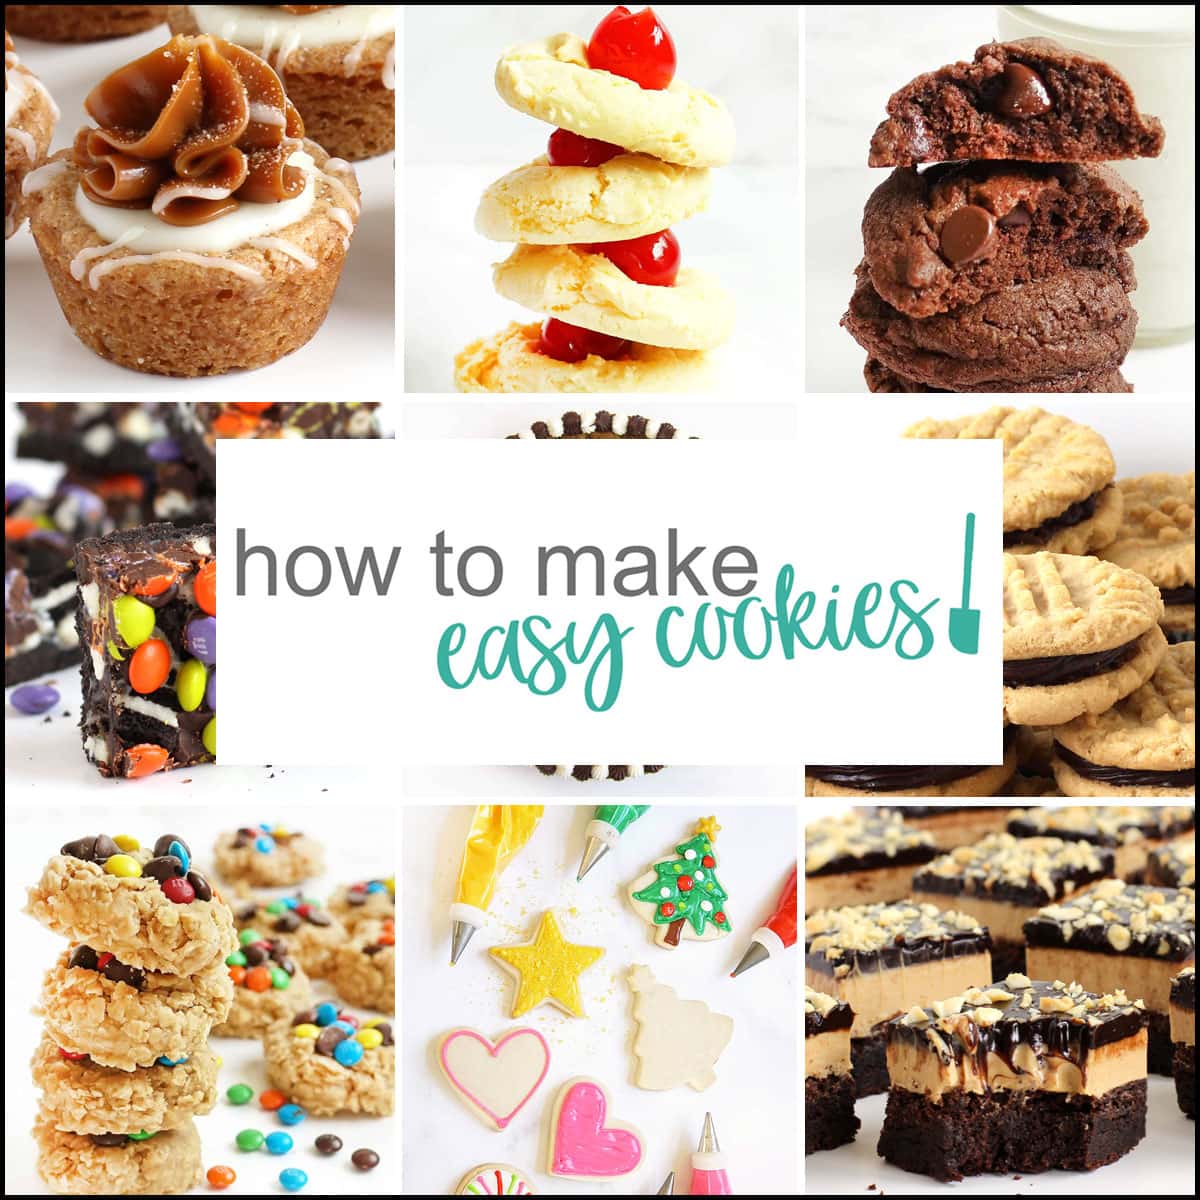
My other food blogs
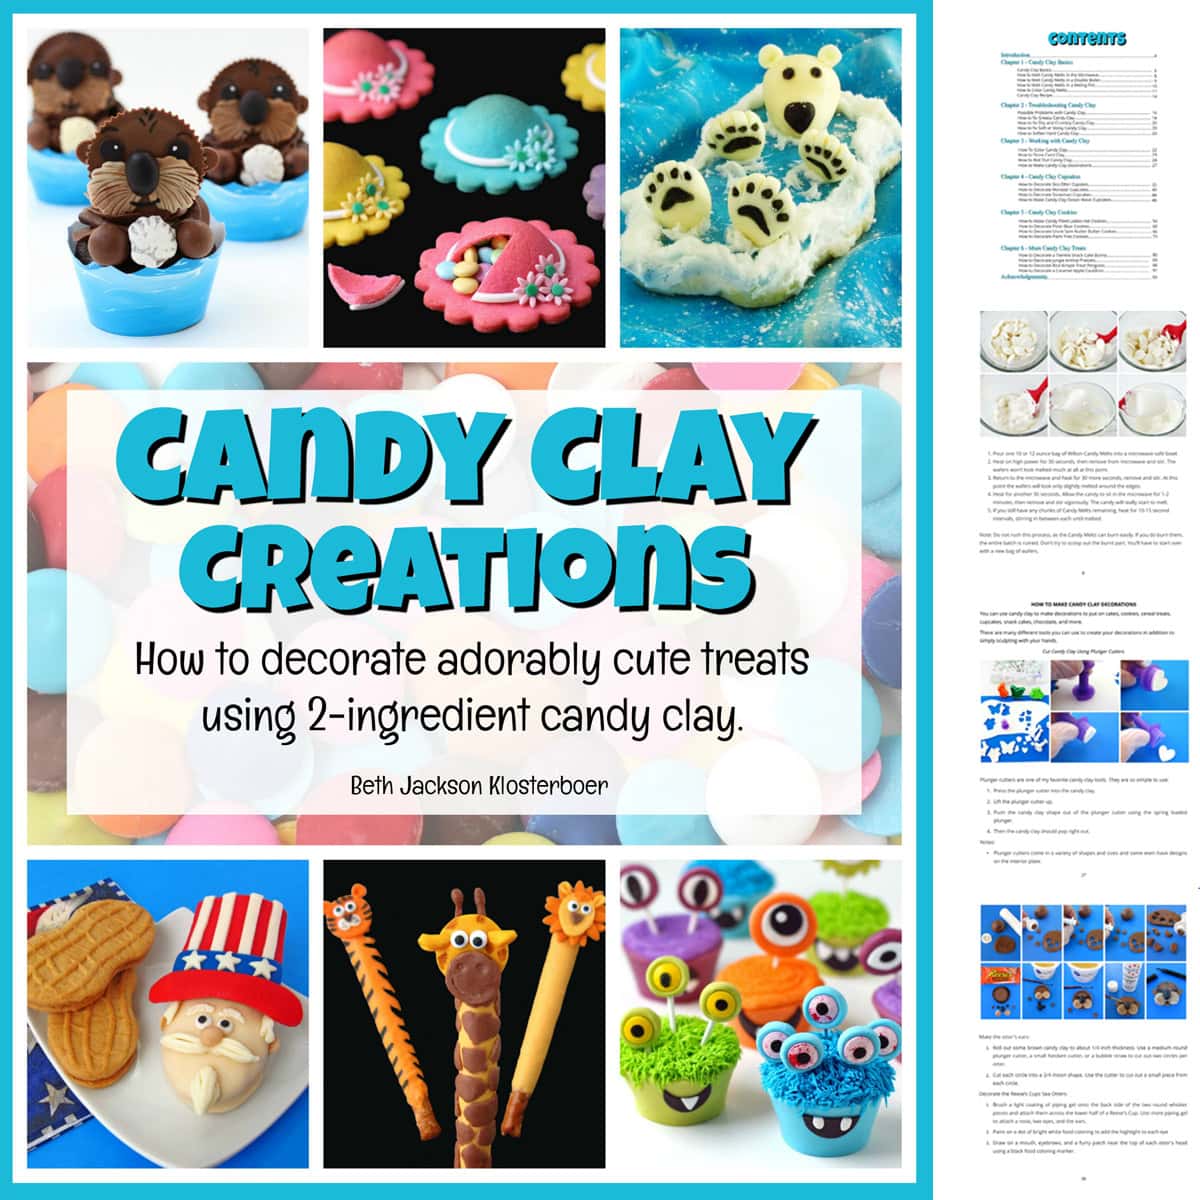
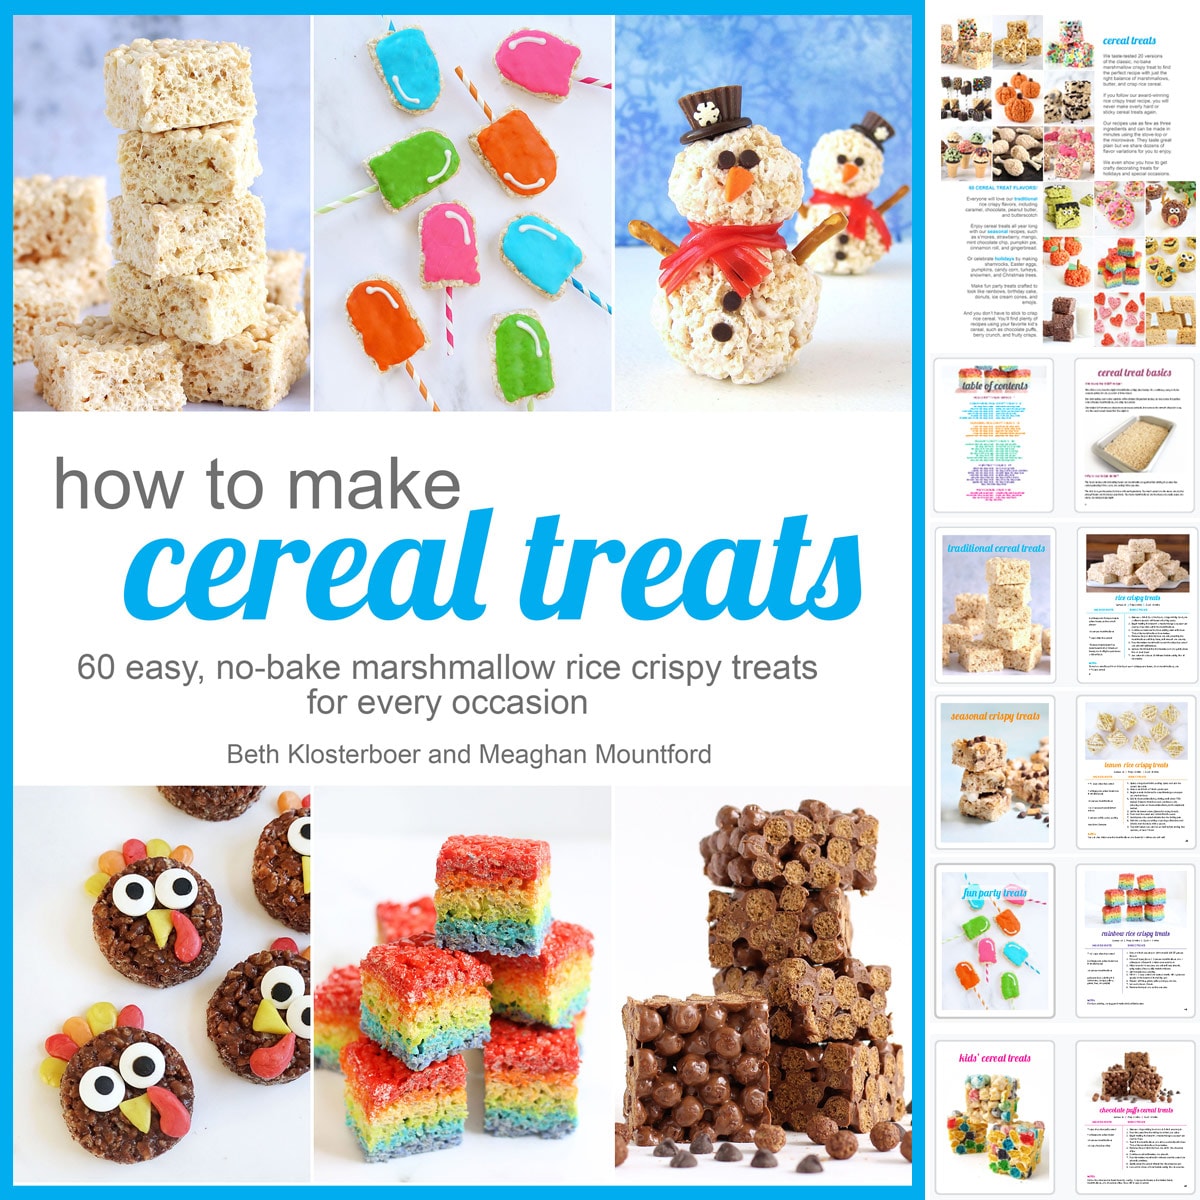
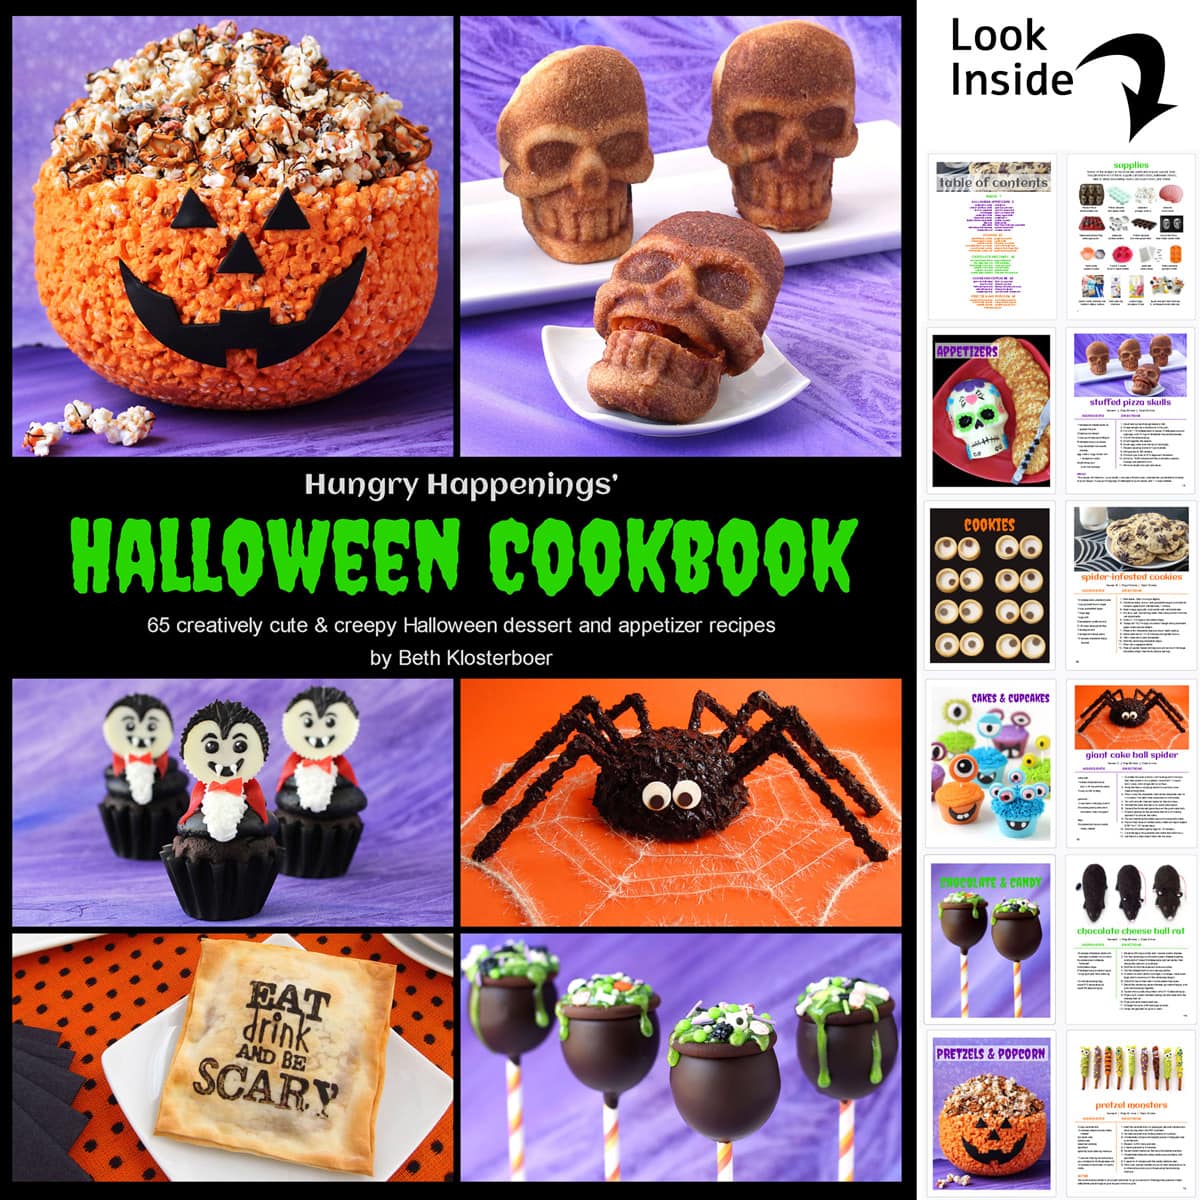
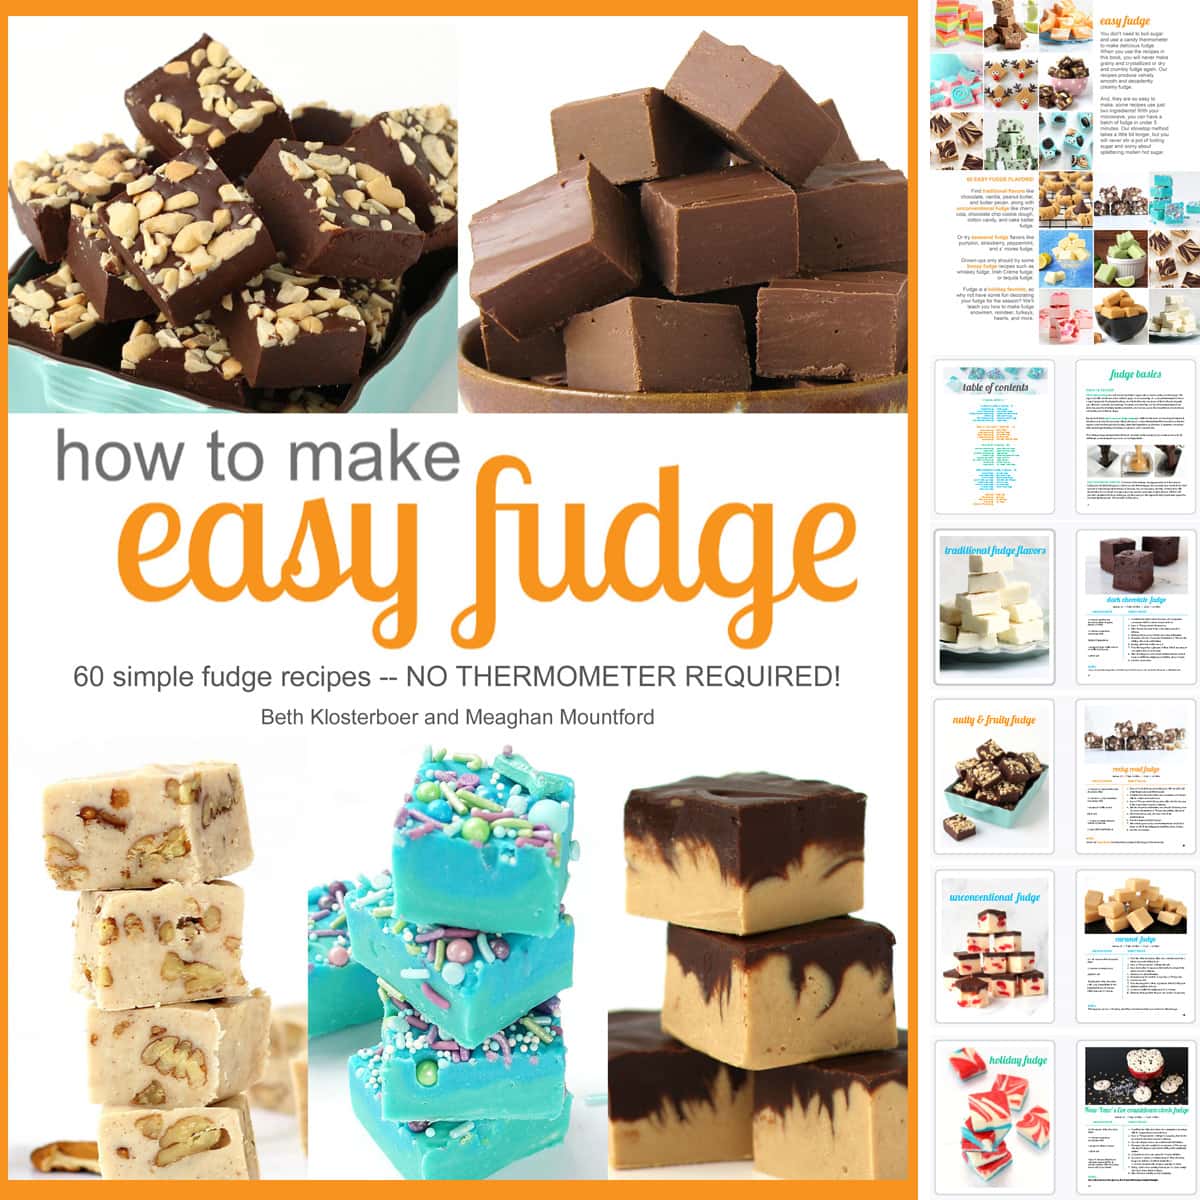
My cookbooks
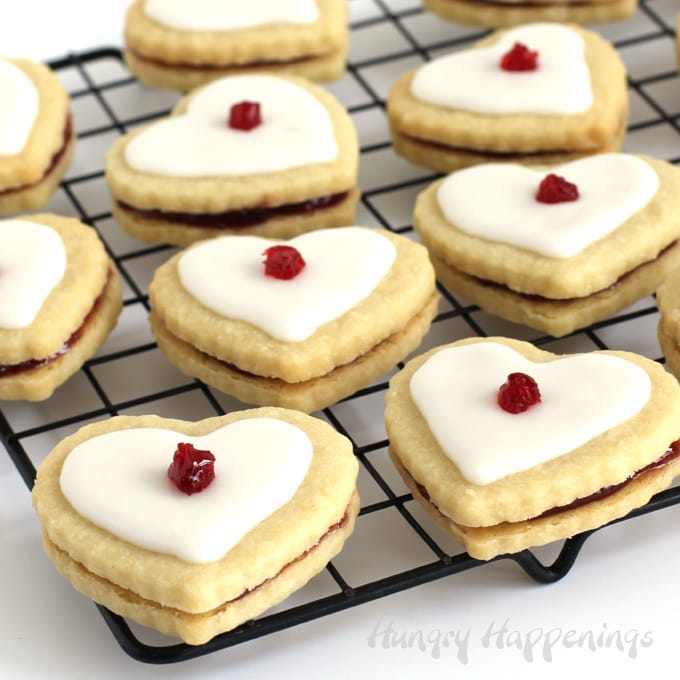
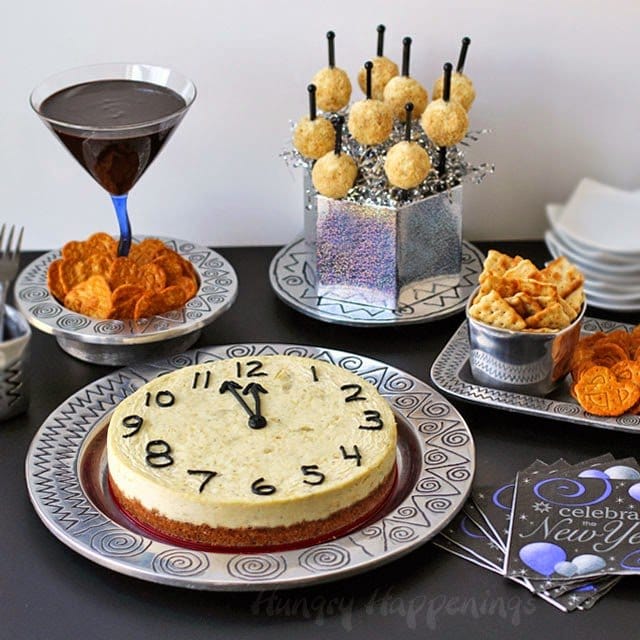
Birthday party food ideas
Celebrate a special birthday with a fun birthday cake, a decorated cheesecake, festive pastries, and even a birthday cheese ball.

See more birthday party recipes →
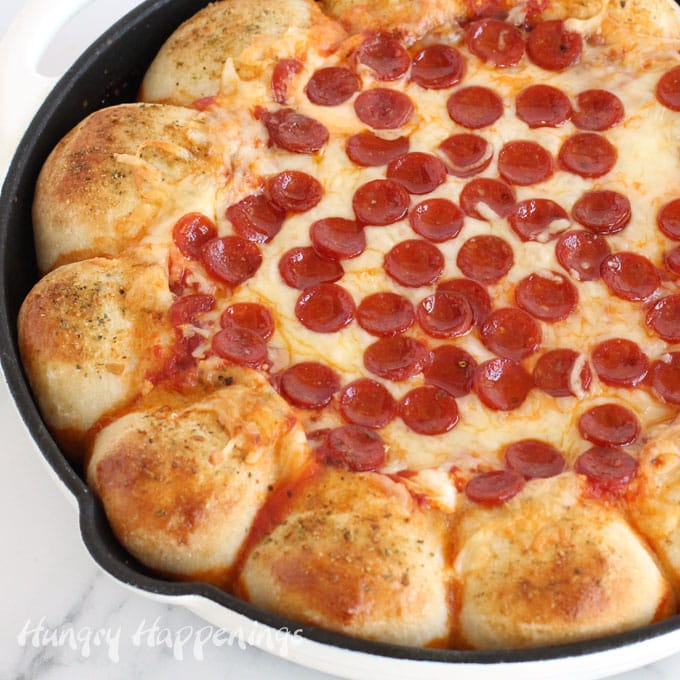
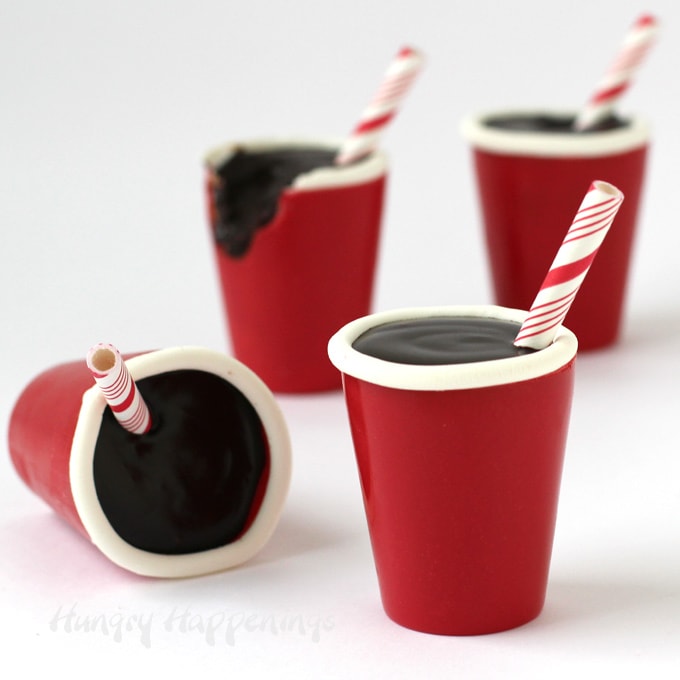
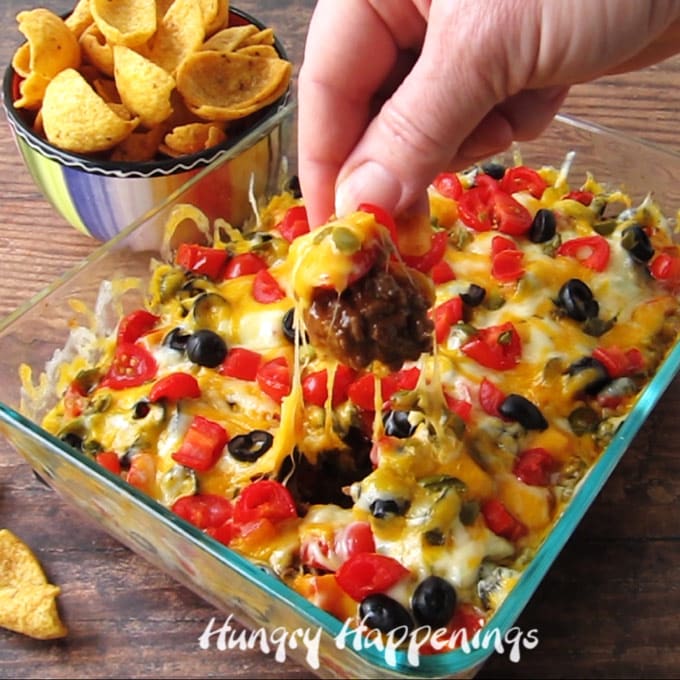
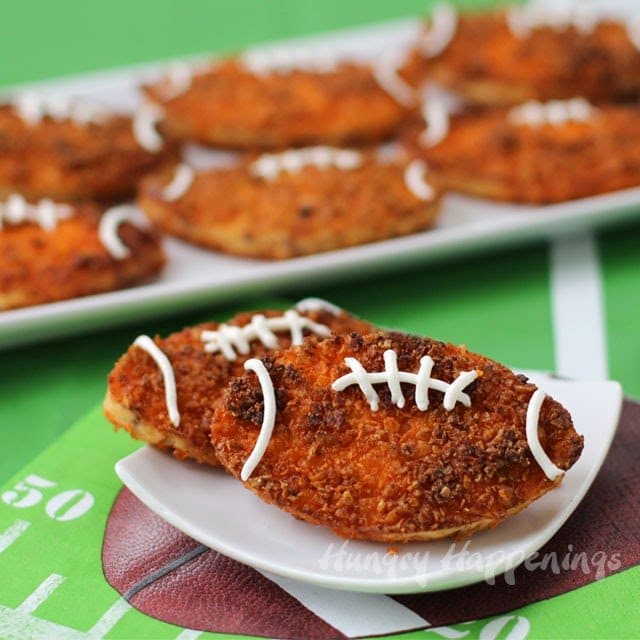
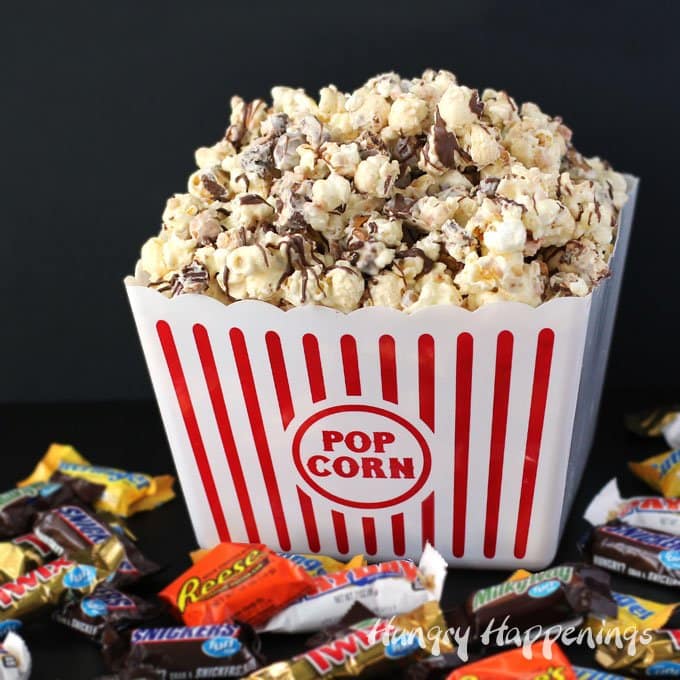
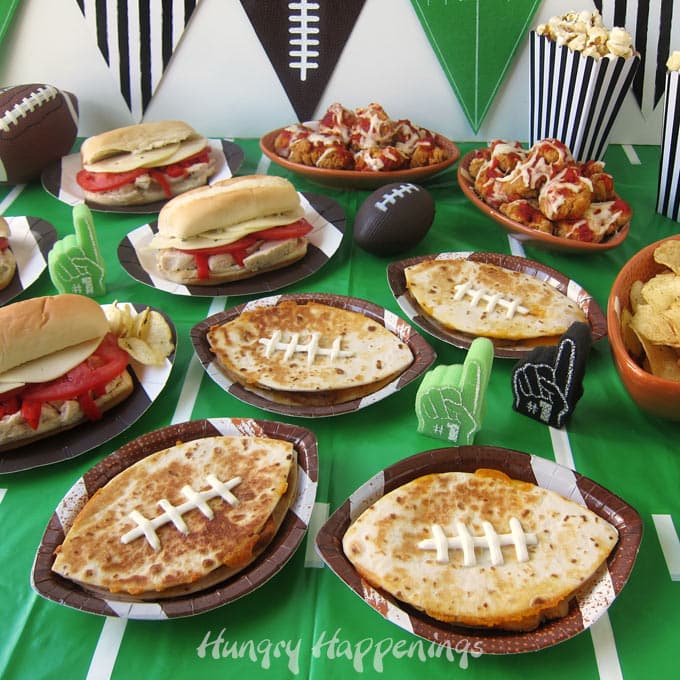
Fun party snacks
Whether you are hosting a big or small party, you'll find recipes to make fun snacks your party guests will enjoy. Who wouldn't love a hot pizza dip, a cheesy taco dip, or a big bowl of candy bar-filled popcorn?


see more party food recipes →
Recent recipe posts
I've been busy creating more delicious recipes to share with you.

Recently updated

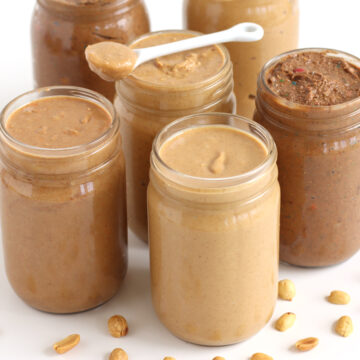
- How to make peanut butter? - February 15, 2024
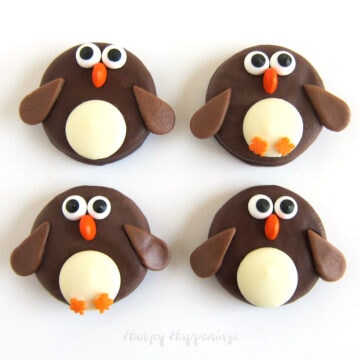
- OREO Penguins - December 20, 2023
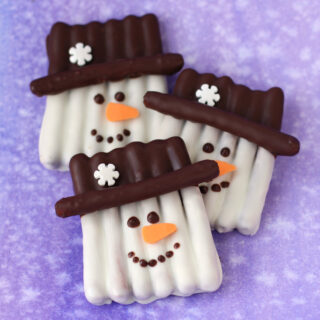
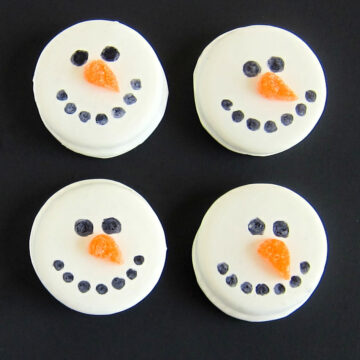
- OREO Snowmen - December 20, 2023