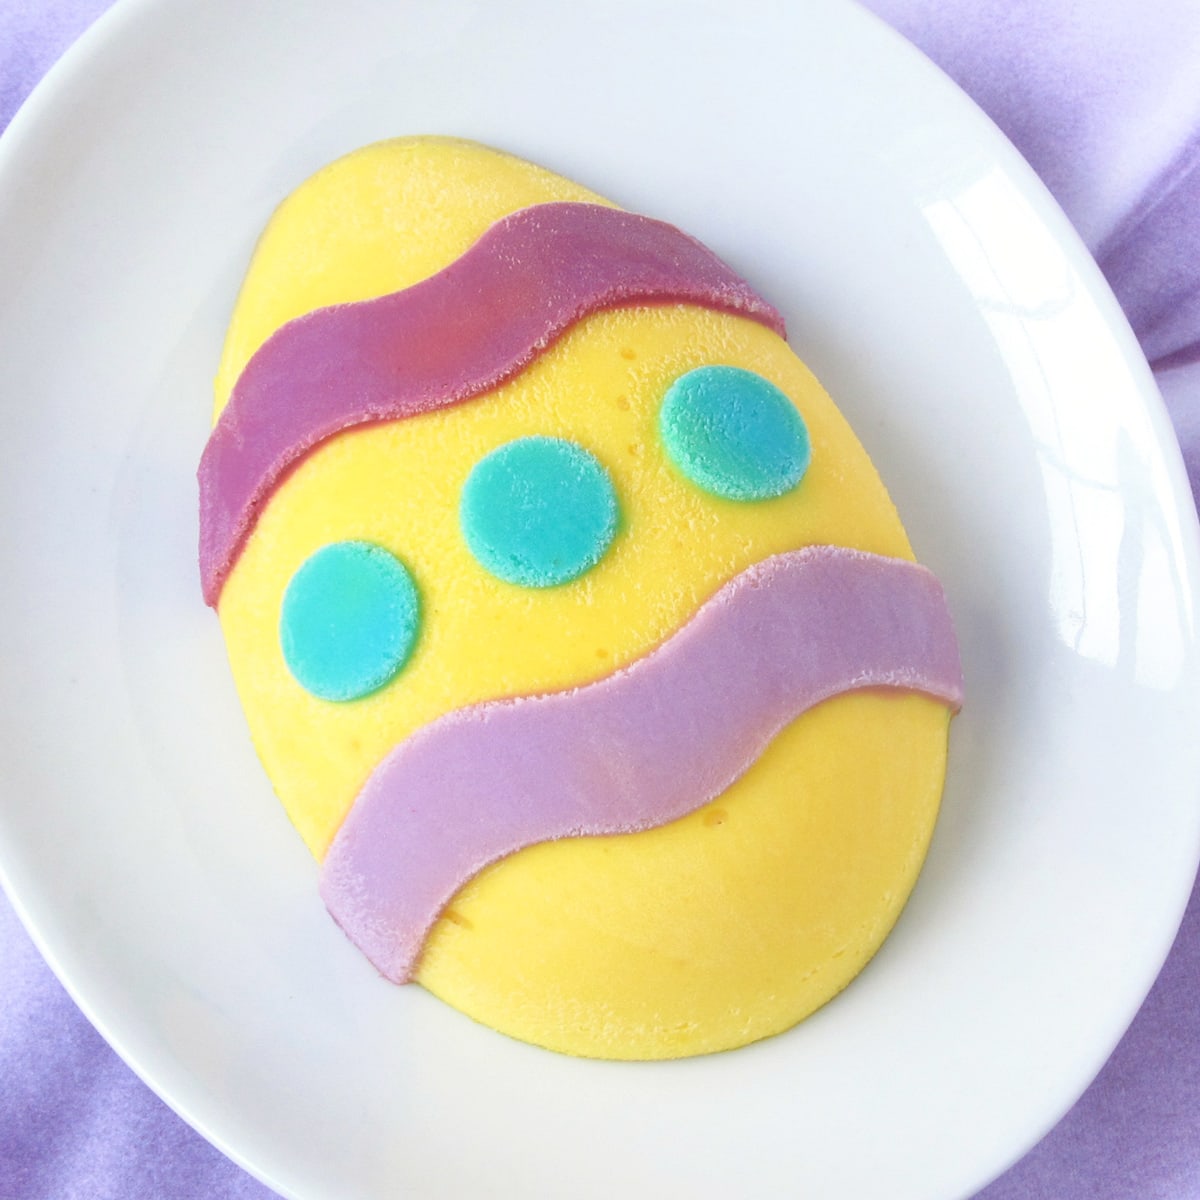
Learn How to Paint Cheesecake Easter Eggs for dessert this year. Each creamy, egg-shaped, cheesecake can be painted with your favorite colors. These Easter Egg Cheesecakes will really brighten up your Easter dinner.
For years I have been painting candy molds with brightly colored white chocolate and wondered if the same artistic technique could work with colorful cheesecake filling.
It does! And painting cheesecakes is just as much fun.
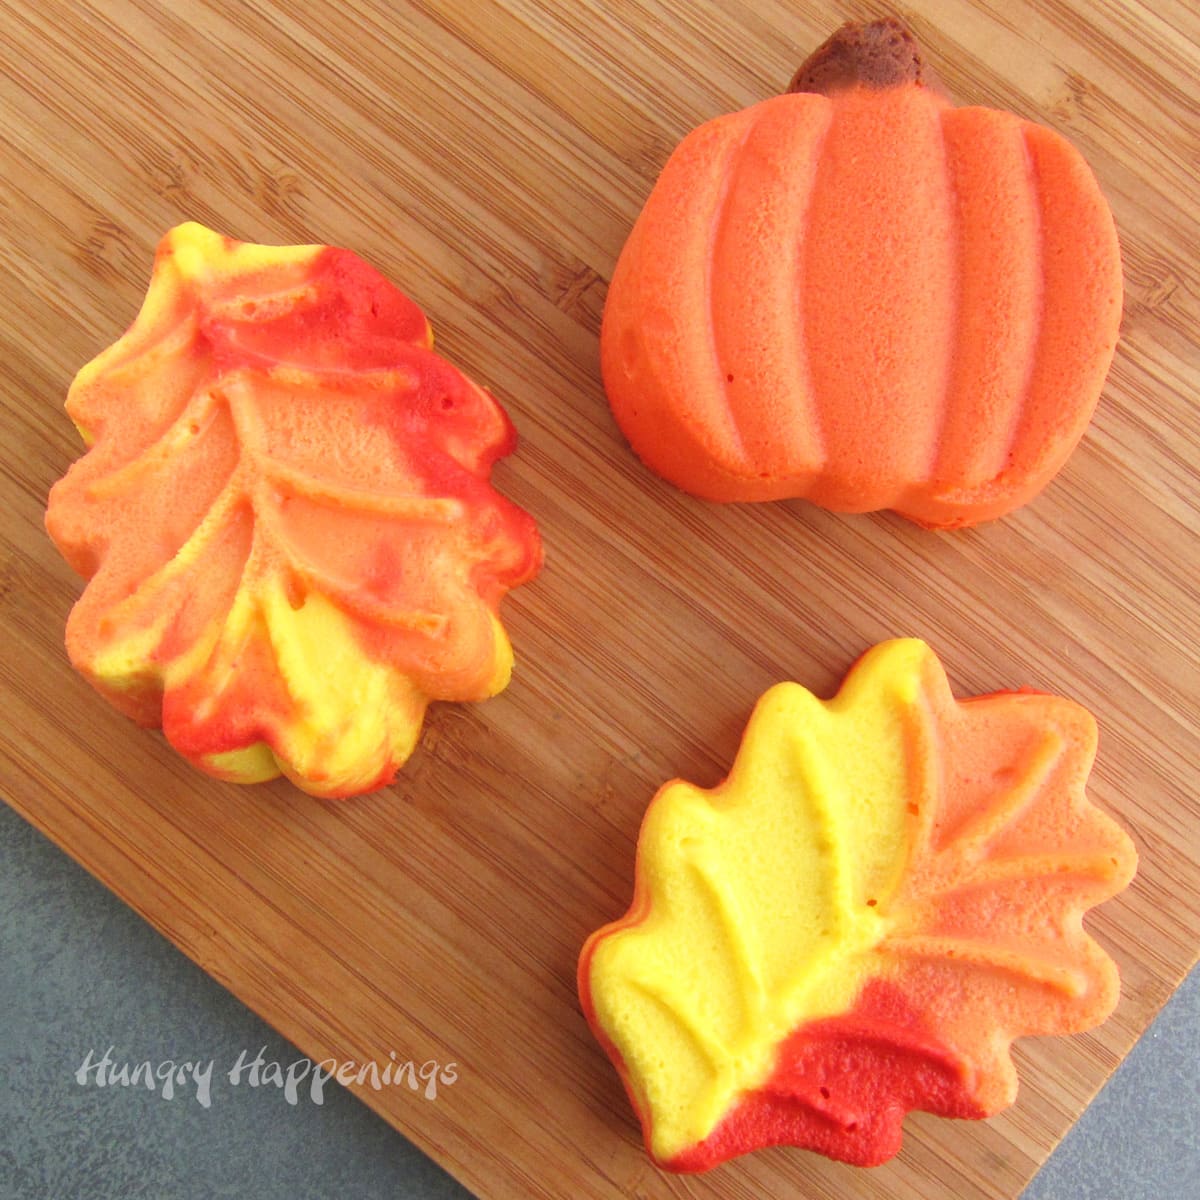
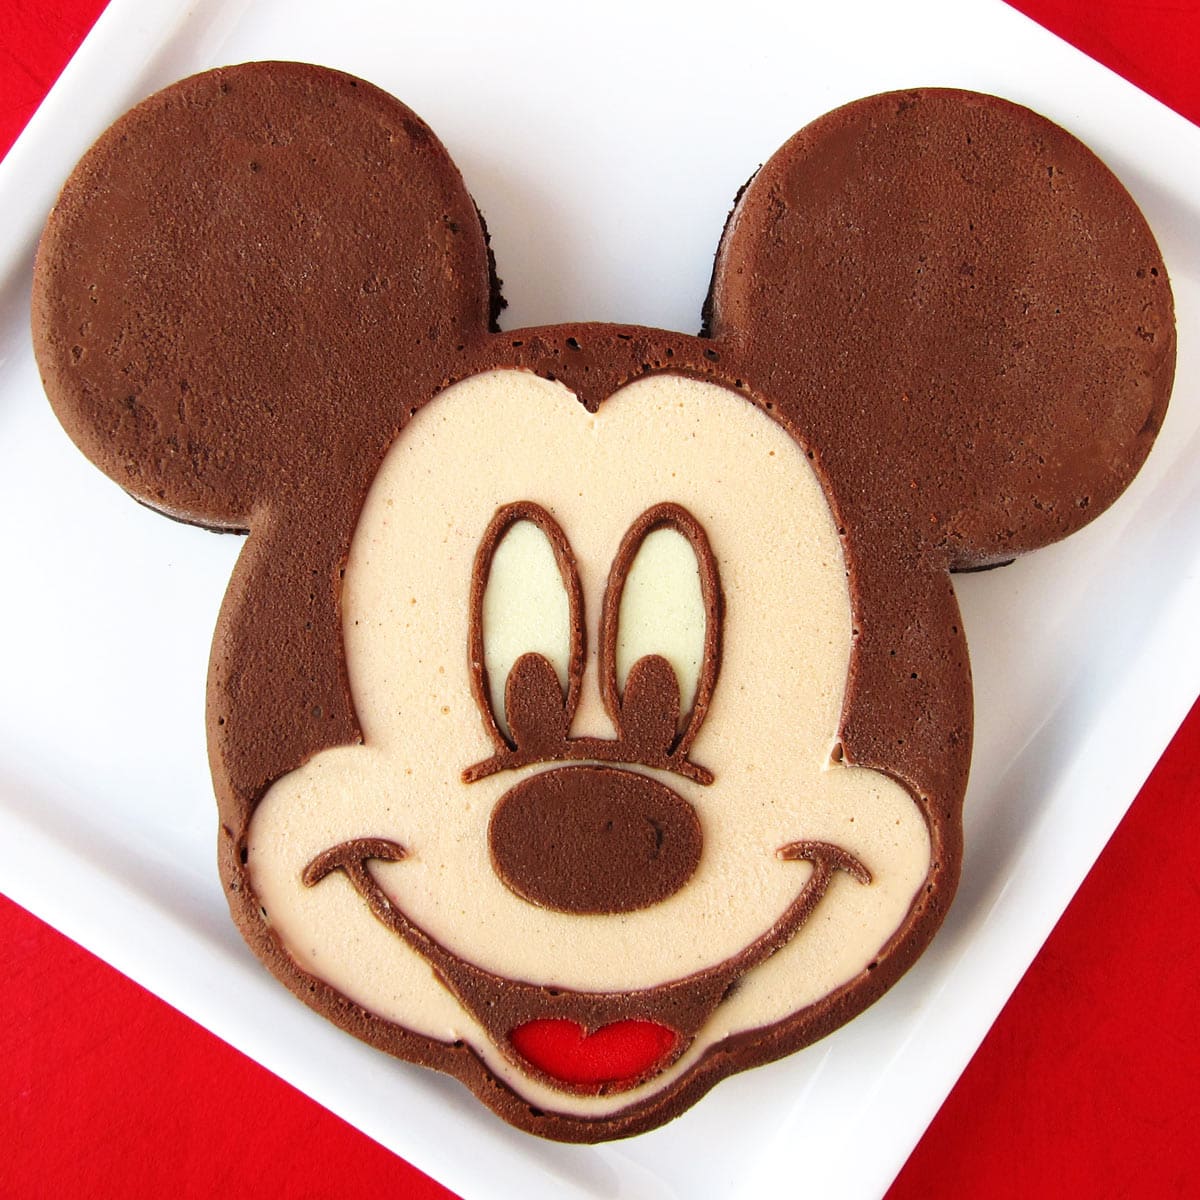
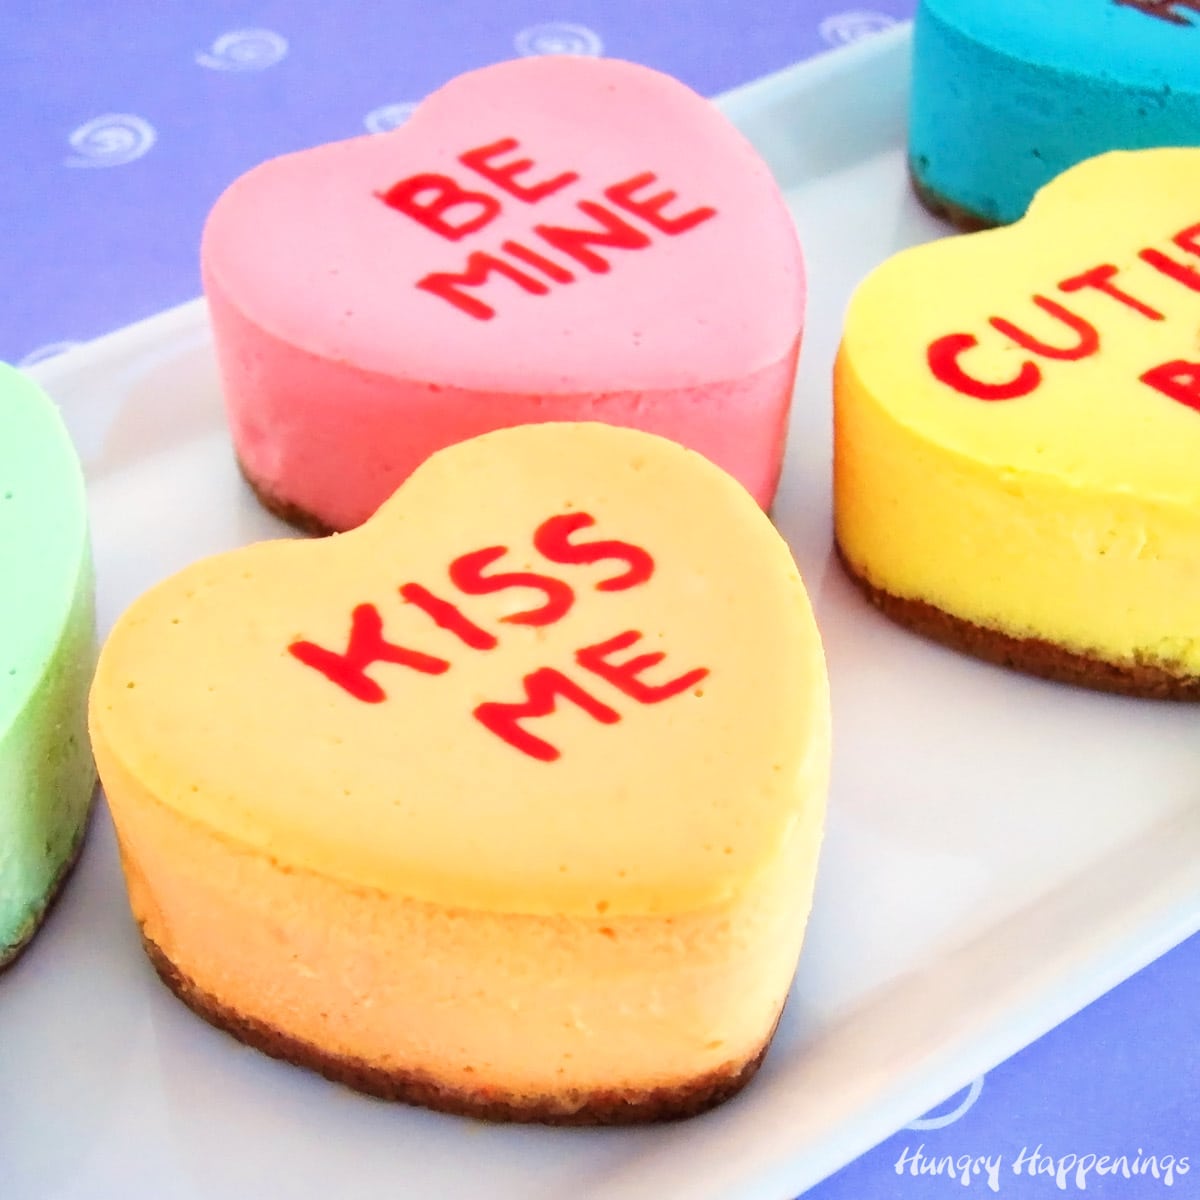
Painting into candy molds using candy melts works great and I figured being I had success making colorful Conversation Heart Cheesecakes, Rainbow Cheesecake Hearts, and Cheesecake Leaves and Pumpkins. that using the same painting technique with cheesecake filling could work as well.
I had already tried my hand at "painting" a design onto the top of a cheesecake when I made my Decorated Daisy Cheesecake but this time I wanted to actually paint the colored cheesecake filling into a silicone mold in hopes that the design would show through once the cheesecake was baked.
You can read my tips and tricks for making the creamiest cheesecake ever in my Classic Cheesecake Recipe post.
To make these egg-shaped cheesecakes, you will need silicone Easter egg molds that have indentations that can be filled with colored cheesecake.
Ingredients:
Makes 8 Cheesecake Easter Eggs
cream cheese - Use full-fat cream cheese and be sure to set it out to soften at least 3 hours before you plan to make your cheesecake filing.
granulated sugar
heavy whipping cream - This will add richness and will help to thin out the cheesecake filling enough that it can be painted into the molds.
eggs
pure vanilla extract
food coloring in your choice of colors (I used pink, yellow, violet, and green)
Special Supplies Needed:
- mixing bowl and mixer
- paintbrushes (clean and used for food only)
- 2 silicone Easter Egg Molds
- optional: roasting pan (with or without a flat rack) or a 9"x13" baking pan*
You can find supplies needed to create this recipe on Amazon. I earn a small commission when you use the sales links in this post to make a purchase at no extra cost to you.
 HomyPlaza 2 Pack Easter Sil...Shop on Amazon
 Set of 4 Silicone 6-Cavity ...Shop on Amazon
 T-fal A85797 Specialty Nons...Shop on Amazon
 – Assortment of 4 Colors Perfect for Small Hands – Comes in a Reusable Pouch for Easy Storage – Shed-Resistant Paint Brushes – for Group Projects, 11\", Multicolor, 1181-79") Darice Kid’s (24pc) – A...Shop on Amazon
Darice Kid’s (24pc) – A...Shop on Amazon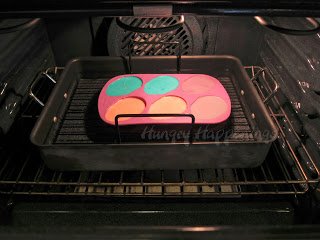 *NOTE: These cheesecakes will have the creamiest texture if they are baked in a water bath. Fill a large roasting pan or a 9"x13" baking dish with enough water to come ½ way up the sides of your silicone Easter egg molds. Set the water-filled pan on the lower middle rack in your oven. Heat oven to 325 degrees Fahrenheit.
I own a roasting pan that has a flat rack that fits inside. It is perfect for making these cheesecakes as you can set the filled mold on the rack and easily lower it into the hot water bath.
You don't have to use the water bath, but I do highly recommend it.
Instructions
Prepare your water bath.
- Preheat your oven to 325 degrees Fahrenheit.
- You can either fill your roasting pan with about an inch and a half of water and set it on the middle rack in the oven.
- Or you can bring a pot of water to a boil.
- Or you can skip the water bath altogether, but I highly recommend using one!
Make the cheesecake filling.
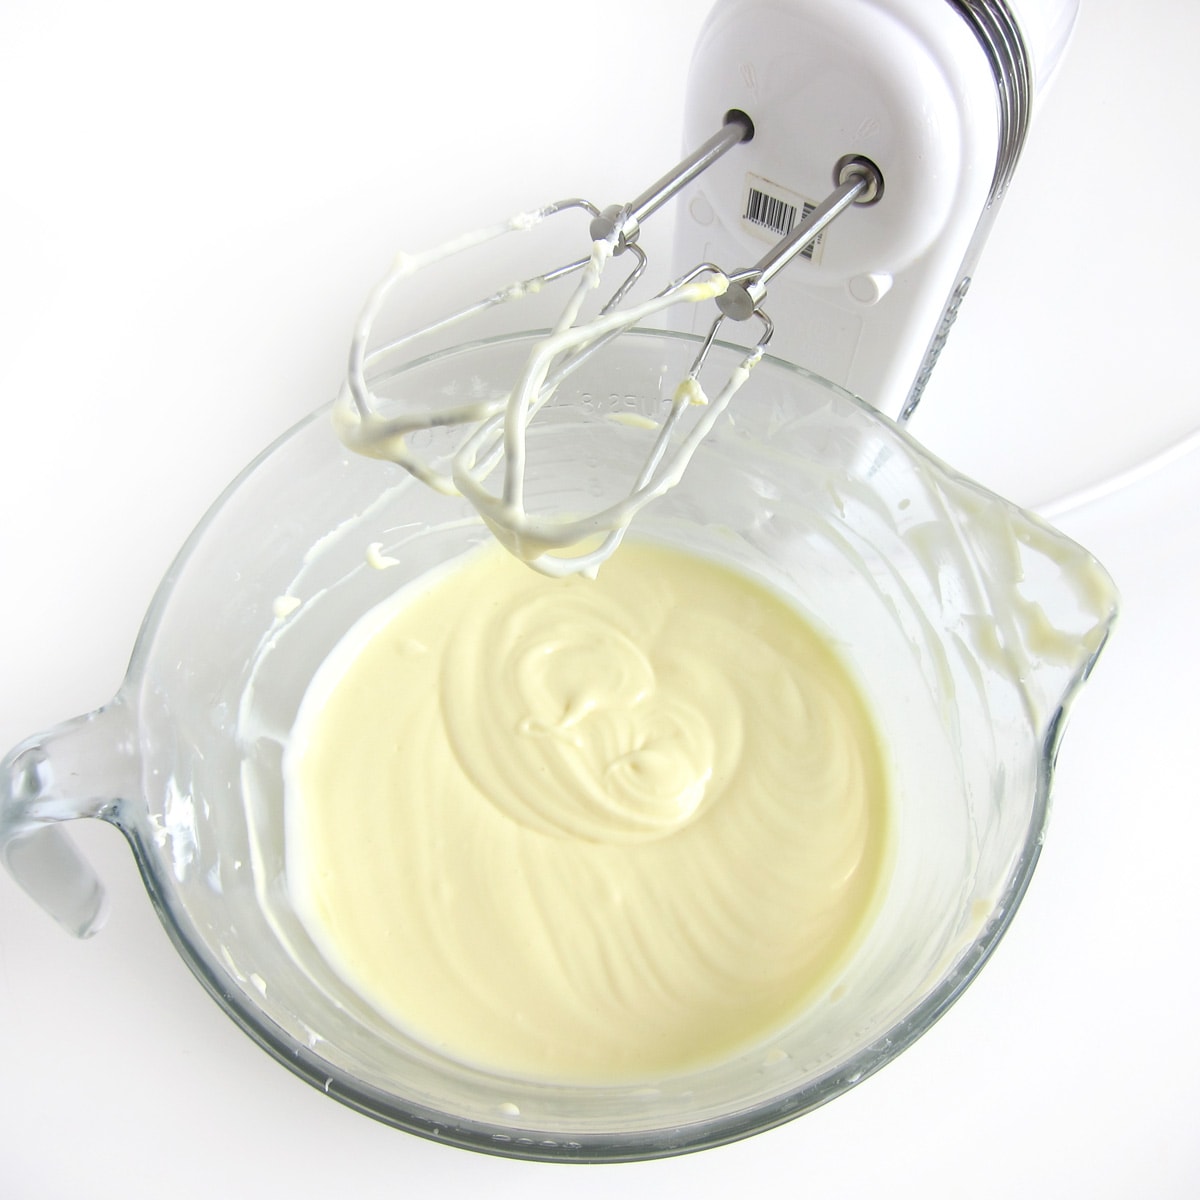
- Beat the softened cream cheese on low speed using an electric mixer until creamy and smooth. Scrape down the bowl and mix again to make sure all the lumps are gone.
- Add the sugar and beat on low until well blended.
- Add the heavy whipping cream, eggs, and vanilla and beat just to combine.
- Do not overmix the filling or you will have a lot of air bubbles in it.
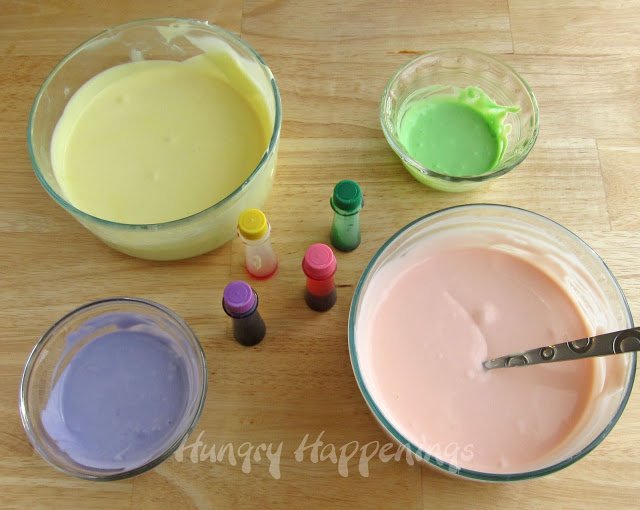
Color the cheesecake filling.
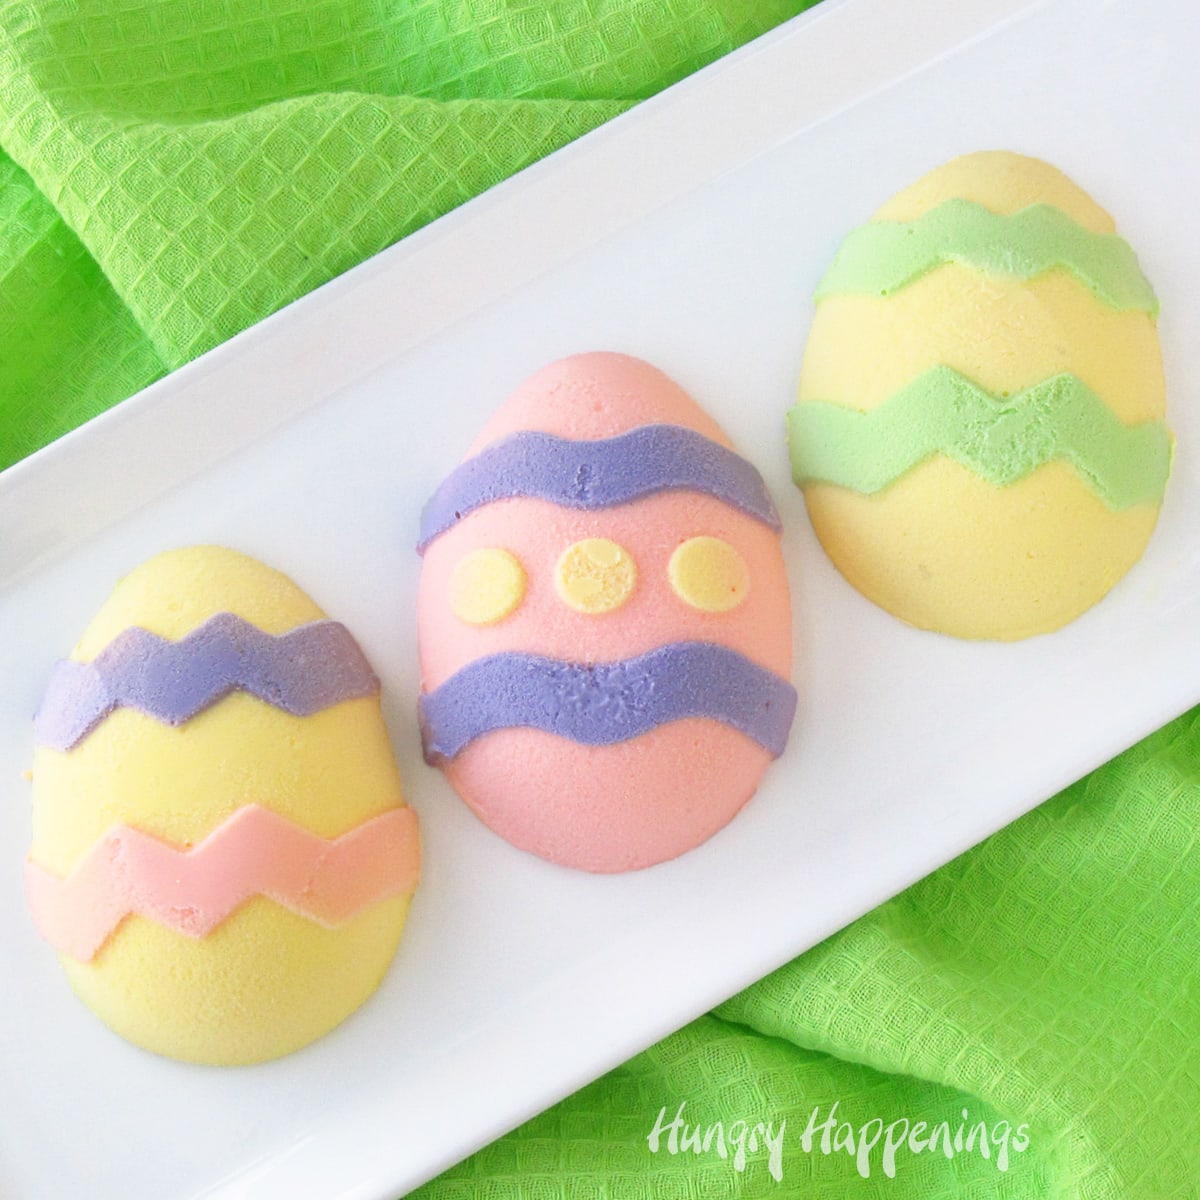
You can make your cheesecakes any color you like just note that you'll need a lot of some colors and a small amount of others. Choose which colors you want the eggs to be then choose which colors you plan to paint the decorations (the polka dots and squiggly lines).
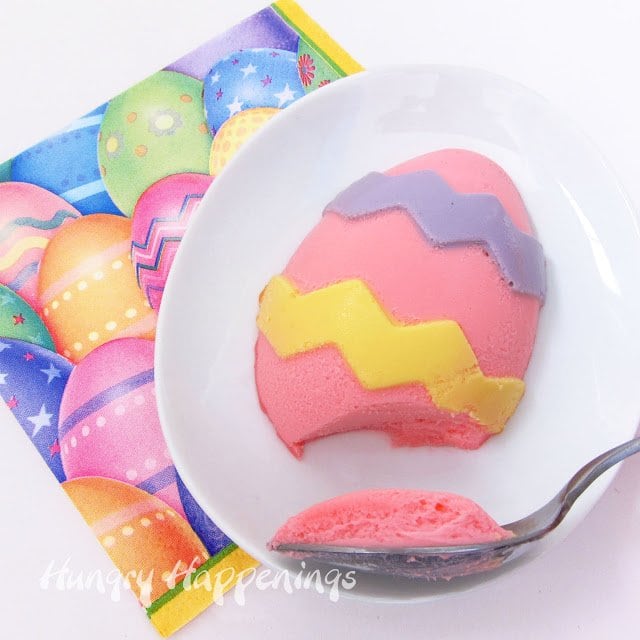
Below are the instructions for making pink and yellow eggs decorated using violet and green
- Spoon about a tablespoonful of cheesecake filling into a small bowl and color it using violet food coloring.
- Spoon about a tablespoonful of cheesecake filling into a small bowl and color it using bright green food coloring.
- Divide the remaining cheesecake filling into two and tint one pink and the other yellow.
- If you want a third color egg just divide the filling among 3 bowls and color them accordingly.
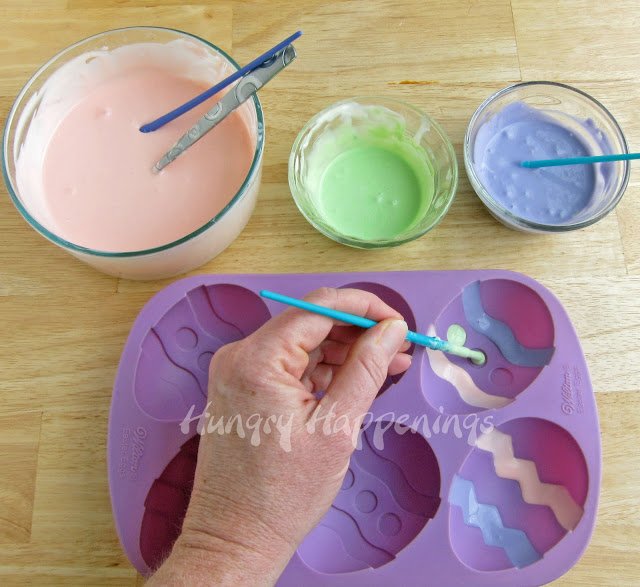
Paint the colored cheesecake filling into the molds:
- Dip a paintbrush into your colored cheesecake filling and use it to paint the indentations in the silicone Easter egg mold.
- Paint just enough cheesecake filling in the mold to cover the indentation.
- If you paint too much, it will drip out. If that happens, just wipe the excess off the mold.
- Use as many different colors as you'd like.
Note: If you are going to make a pink egg, don't paint with pink. If making a yellow egg, don't use yellow.
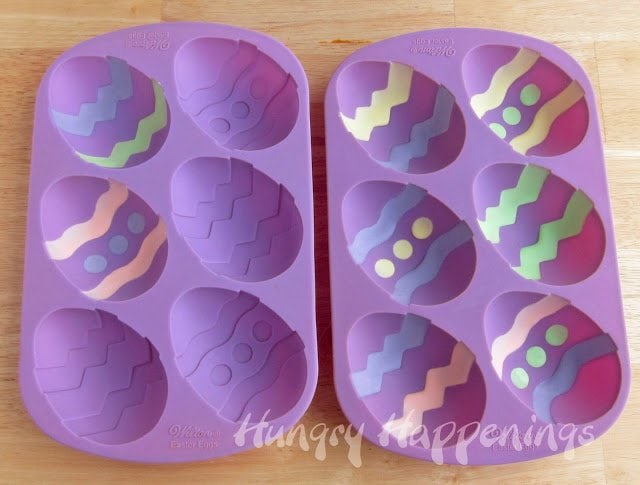
Freeze the painted molds.
- Once you have painted all of the indentations in 8 Easter eggs, freeze the molds for 15 minutes.
NOTE:
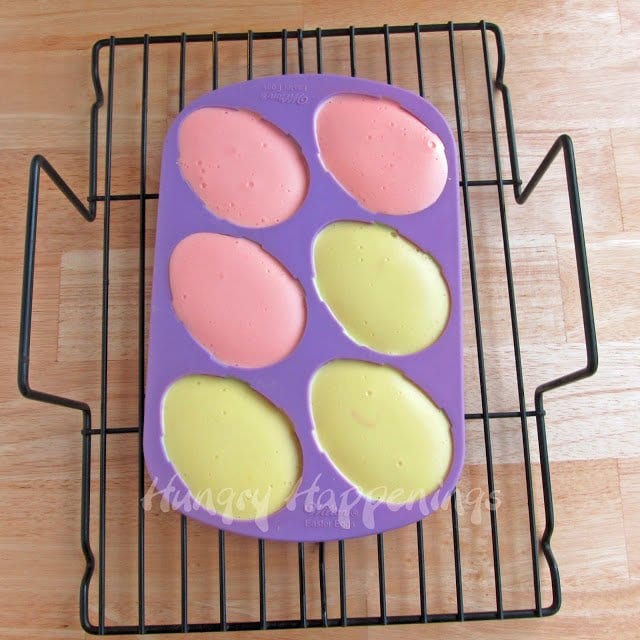
- This recipe will only make 8 Cheesecake Easter Eggs but your mold will have 6 egg-shaped cavities. It is best to fill the four eggs in each corner leaving the two center eggs empty.
- Being I only filled two of the eggs on one mold I had to weigh down my mold by filling the empty cavities with rice.
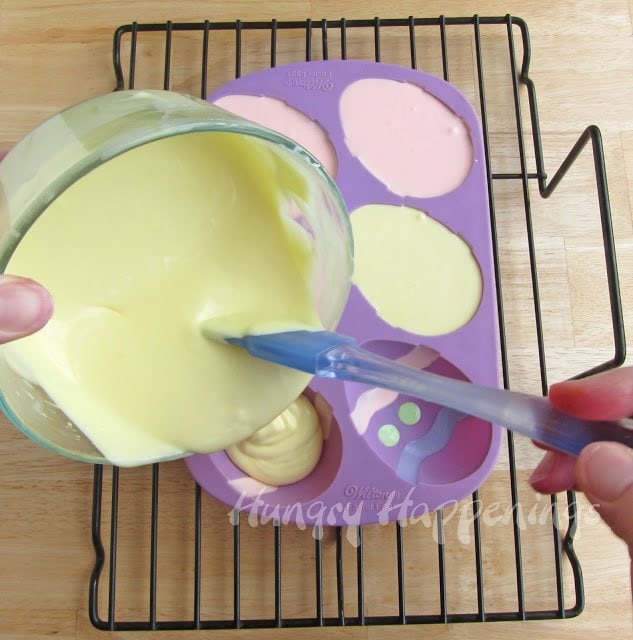
Fill the mold with cheesecake filling.
- If using a water bath and you have a flat rack for inside your roasting pan, set your mold on the rack. If not using a water bath, I recommend setting your Easter egg mold on a baking sheet, so it's easy to move once filled.
- Pour cheesecake filling into the Easter egg mold, filling each egg-shaped cavity to about ⅛th of an inch from the top edge. The cheesecake will expand a bit while baking and you don't want it to puff up and over the edge.
NOTE:
- You will have some extra cheesecake filling.
- It won't be enough to make a full egg, but you can just pour all the extra filling into another egg in the mold. Just pour all the different colors into the mold. This egg will make a nice little snack for you later on. You know you'll want to dig into one. This way you won't have to ruin a nicely decorated egg.
Bake the Cheesecake Easter Eggs.
- Set the rack topped with the filled silicone mold down into the roasting pan filled with about an inch and a half of water or set it in the roasting pan and pour in some boiling water so that it goes about halfway up the sides of the mold.
- If you aren't using a water bath set the baking sheet topped with the silicone mold into the oven on the middle rack.
- Bake your cheesecakes for 18-22 minutes until the top forms a smooth film and the center is still giggly but not wet.
- Remove from the oven and the water bath.
- Set the mold aside to cool completely.
- Refrigerate the cheesecakes for at least 2 hours.
- Freeze for at least 2 hours before un-molding.
A warm water bath will help to keep your cheesecakes from cracking and drying out.
These cheesecakes are rather small and will bake pretty quickly so baking without a water bath might be alright, but the water bath is still advisable so that you get the most amazingly creamy cheesecakes.
You can heat the water in your roasting pan as the oven preheats or you can bring a pot of water to a boil then pour the water into the pan. Pour about an inch (you want the water to come about halfway up the sides of the mold) of water in a roasting pan and set it in the oven and allow it to heat up while the oven is preheating. Then set the mold into the hot water and bake.
OR set the mold in the roasting pan and carefully pour boiling water into the pan until the water comes halfway up the sides of the mold.
If you find it easier, you can also put a pan of water on the rack below the cheesecakes. It will keep moisture in the oven which will help to keep your cheesecakes from cracking.
Tips
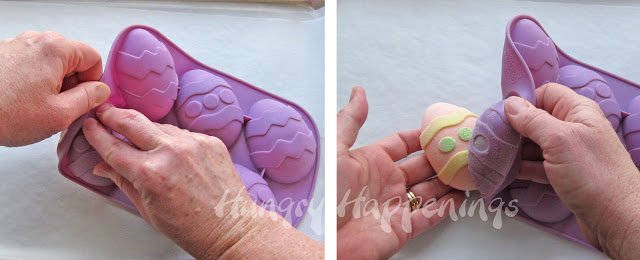
It is VERY IMPORTANT that you freeze the Cheesecake Easter Eggs in order to easily remove them from the silicone mold. If they are simply refrigerated they may become misshapen once you take them out of the mold.
- Carefully turn the silicone mold upside down, gently tug at the mold pulling it away from the cheesecake, then press the backside of the mold, allowing the Easter egg cheesecake to fall out of the mold.
- Immediately set them on a small dessert plate.
- Once the Cheesecake Easter Eggs thaw, they will be practically impossible to move without ruining their shape.
Storage
- Store in the refrigerator for up to a few days.
- The cheesecakes can be frozen for up to 3 months. You can wrap the entire silicone mold really well with plastic wrap then again in a few layers of tin foil to store in the mold.
Thawing frozen cheesecake eggs.
- About 15 minutes before serving, remove the Cheesecake Easter Eggs from the refrigerator and allow them to come up to room temperature.
- You can serve frozen cheesecakes directly from the freezer. Plate them and allow them to sit at room temperature for at least 30 minutes in order to thaw.
I finished eating one of these cheesecakes while writing this post, as my mouth was watering about midway through my description. They are so creamy and have a nice vanilla flavor. I hope you have fun working with this new food painting technique.
Are you ready to see some more incredible Easter projects?
I was invited to join in on an Easter Extravaganza and couldn't be more thrilled to be included with such amazingly talented bloggers and can't wait to visit all of their sites to see their recipes and tutorials. Just click on the pictures and you'll be re-directed to their blogs.
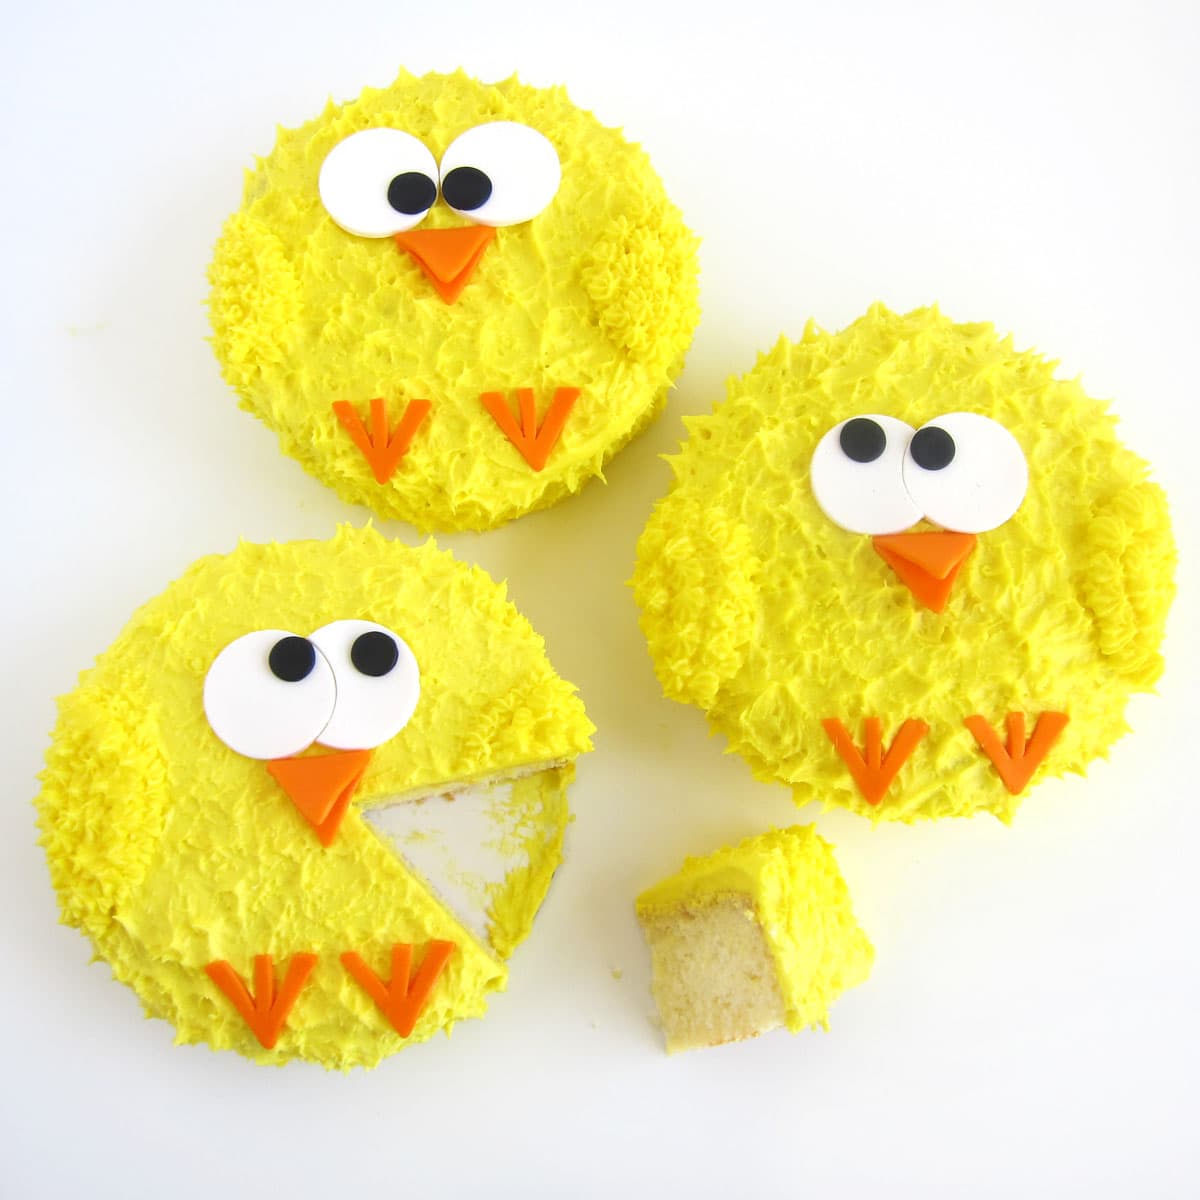
Variations

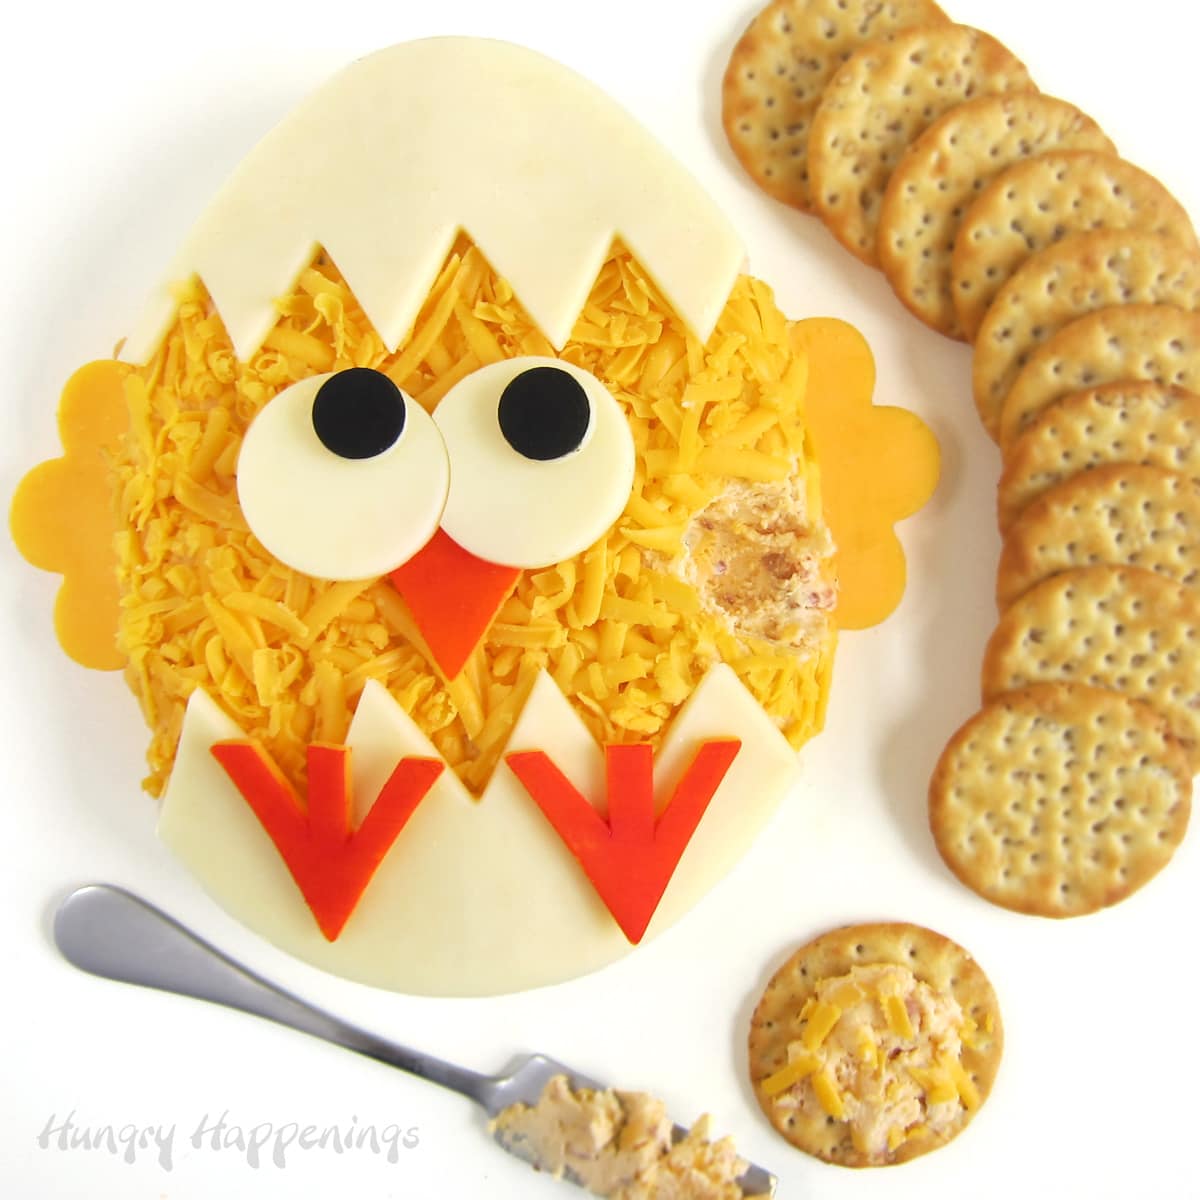
If you don't want to fuss with hand-painting your cheesecake eggs, you can make these hilarious Hatching Chick Cheesecakes instead.
Related Recipes
You might also like making these other cheesecake recipes.
See all of my Easter Recipes, here.
Recipe
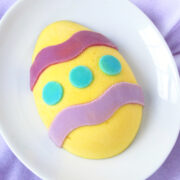
Hand-painted cheesecake Easter Eggs will really brighten up your Easter dinner table. Each individual-sized dessert is creamy and smooth and vibrantly colored.
- 16 ounces cream cheese, softened
- ⅔ cup sugar
- ⅓ cup heavy whipping cream
- 2 large eggs
- 1 teaspoon pure vanilla extract
- food coloring (pink, yellow. purple, green)
-
Beat the cream cheese using an electric mixer on low speed, scraping down the bowl as needed, until all the lumps are gone and it is smooth and creamy.
-
Add the sugar and beat on low until light and fluffy.
-
Mix in the heavy whipping cream, eggs, and vanilla just until combined.
-
Divide the cheesecake filling into bowls and add food coloring. Make more of the colors you want to use to fill the egg molds and less for the colors you plan to paint into the molds.
-
Dip a paintbrush into your colored cheesecake filling and use it to paint the indentations in the silicone Easter egg mold.
-
Once you have painted all of the indentations in 8 Easter eggs, freeze the molds for 15 minutes.
-
If using a water bath and you have a flat rack for inside your roasting pan, set your mold on the rack. If not using a water bath, set your Easter egg mold on a baking sheet.
-
Pour colored cheesecake filling into the Easter egg mold, filling each egg-shaped cavity to about ⅛th of an inch from the top edge.
-
Fill all 8 of the painted eggs.
-
Pour any remaining cheesecake filling into another egg mold.
-
Bake your cheesecakes in the water bath, if using, for 18-22 minutes until the top forms a smooth film and the center is still giggly but not wet.
-
Allow your cheesecakes to cool at room temperature for an hour then refrigerate for at least 2 hours.
-
Freeze for at least 2 hours before un-molding.
-
Remove from the mold and immediately set each cheesecake on a small dessert plate.
-
Allow them to thaw for about 30 minutes before serving.
Keep your cheesecakes covered in the refrigerator for up to 5 days. I like to place a paper towel on the underside of the lid of an airtight container to wick up the moisture that might form on the cheesecakes.

- Banana Split Bars – A Fun and Easy Summer Dessert - March 4, 2026
- Pineapple Fudge (No Candy Thermometer Needed!) - March 4, 2026
- No-Bake Peanut Butter Pie Recipe - March 3, 2026

Amber Spiegel says
Great idea! Thanks for the tutorial!
adozeneggs says
cute idea. Marlyn is right, a perfect dessert for a wheat free diet!
Stephanie (Ellie's Bites) says
How cool! I didn't know that you could do such amazing things with cheesecake!
Dorothy @ Crazy for Crust says
I love the bright ones! Well, I love them all, but especially those. These are so adorable!
Haniela says
I need to get my hands on some silicone molds they are so fun to use. Love this idea for a cheesecake!
HoosierHomemade says
Love the details on the eggs, and it looks pretty easy too! Thanks for sharing!
Kalamity Kelli says
How cool! That looks so good - I know I must try them!
blueberrykitchen says
Oh these look so cute, what a great idea!
Robin @ Bird On A Cake says
Fantastic idea, Beth! Now you have me craving cheesecake... 🙂
Wendi Bergen says
Super fun! Can I bake there with a graham cracker crust on top? That is my family's favorite part of the cheesecake.
Beth Klosterboer says
Hi Wendi,
I have not figured out a way to add a crust to these eggs due to the fact that you'd need to add the crust to the top of the cheesecake batter and it would sink into the cheesecake. You can use a different technique, where you put a crust into the bottom of an egg-shaped silicone mold, and then create a decoration on top. It would be easy to do with Easter Eggs. See these recipes for instructions - https://hungryhappenings.com/decorated-daisy-cheesecake-recipe/
https://hungryhappenings.com/cheesecake-beach-balls/
Or, you can make swirled tie-dye Easter Egg cheesecakes - https://hungryhappenings.com/tie-dye-cheesecake-easter-eggs/
Enjoy!
Sue says
You are full of great ideas, Beth! Besides turning out perfectly, I know these must be delicious! Cheescake has always been a favorite of mine:)
Jill @ KitchenFunWithMy3Sons.com says
Super cute idea...they look perfect and so colorful!
the decorated cookie says
Fantastic tutorial! You're the bestest ever at those. Like maybe I can actually, you know, make these. And they'd look like yours! (And re:floppy ear bunny cutter, I looked all over the web for the same one. It's big and copper and I got it years ago, I think as a gift from my mom, but I couldn't find the same exact cutter. I thought maybe coppergifts, but didn't see the same one. I think they have something similar though).
Beth Jackson Klosterboer says
Thanks, Meaghan:) I do have a make your own cookie cutter kit and just may have to use your bunnies as a guide to make my own cutter. Your cookies are so cute.
petit4chocolatier says
An amazing work of art!
Pint Sized Baker says
This is great! So fun!
Mike @ Semi Sweet says
I love this idea!! So colorful too!
Janine Eshelbrenner says
Wow! This is so cool! The possibilities are endless.
Michelle | Creative Food says
I love these! Such a brilliant idea! You always make the most amazing cheesecakes-- amazing!!
Jennifer @ Not Your Momma's Cookie says
This is such an amazing idea!
Marlyn Birmingham says
Hi, I love your idea my mother-in-law has celiac so this would be perfect for her, great work. Marlyn from Montreal Confections
Beth Jackson Klosterboer says
My father has celiac too and up until his diagnosis he was the biggest cookie monster ever. Now he enjoys desserts like these cheesecakes.
The Partiologist says
Beth - you've done it again...created a fantastic Holiday themed cheesecake! I LOVE it!